| Using OneMix Mortar to create your very own DIY Easter Bunnies |
- You’ll need:
- – OneMix Mortar
- – Blown out egg shells (small hole in the top, larger hole on the bottom big enough to fit your little finger through)
- – Copper wire (we used picture hanging wire)
- – Scissors
- – Strong tape
- – Sharpie
- – Round Pen
- – Easy pour measuring jug and spoon to mix the concrete powder with water in
- – Gloves
- – Tissue
If you’d like to watch a video demonstration of this tutorial, click here.
Step 1: DIY Copper Ears
First we start with our bunnies ears. Take the copper wire and cut off a section using the scissors (if you’ve got thicker copper wire you may need to use wire cutters). Using the round pen, bend the wire into shape. You may need to do a bit of shaping with your hands to get the wire just how you want.
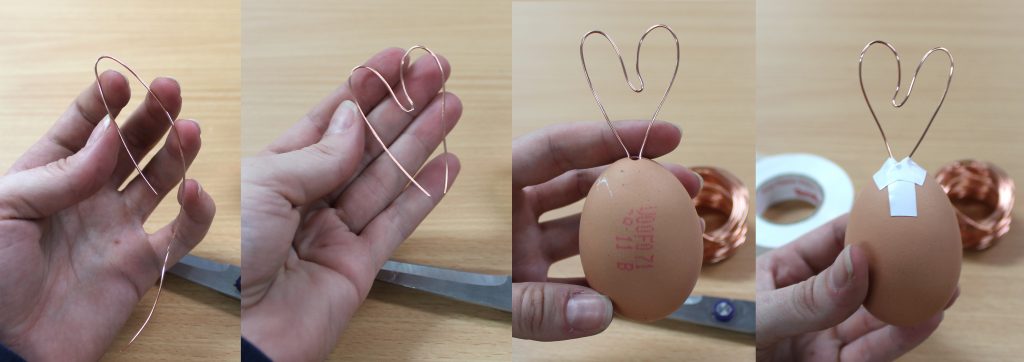
Take a set of ears and place them in the small hold on the top of one of your egg shells and attach them firmly using the tape. Make sure to completely cover any gaps.
At this point it might be helpful to pre-cut small sections of tape and keep them aside.
Step 2: Mixing your Mortar
Put on your gloves at this point and mix your OneMix Mortar as per the instructions. As these aren’t structural in any sense of the word, add some extra water to your mix to minimise air bubbles, keep in mind we’re going for a smooth finish and easy pouring.
If you’re not sure how to mix Mortar for DIY projects, check out our instructional video here!
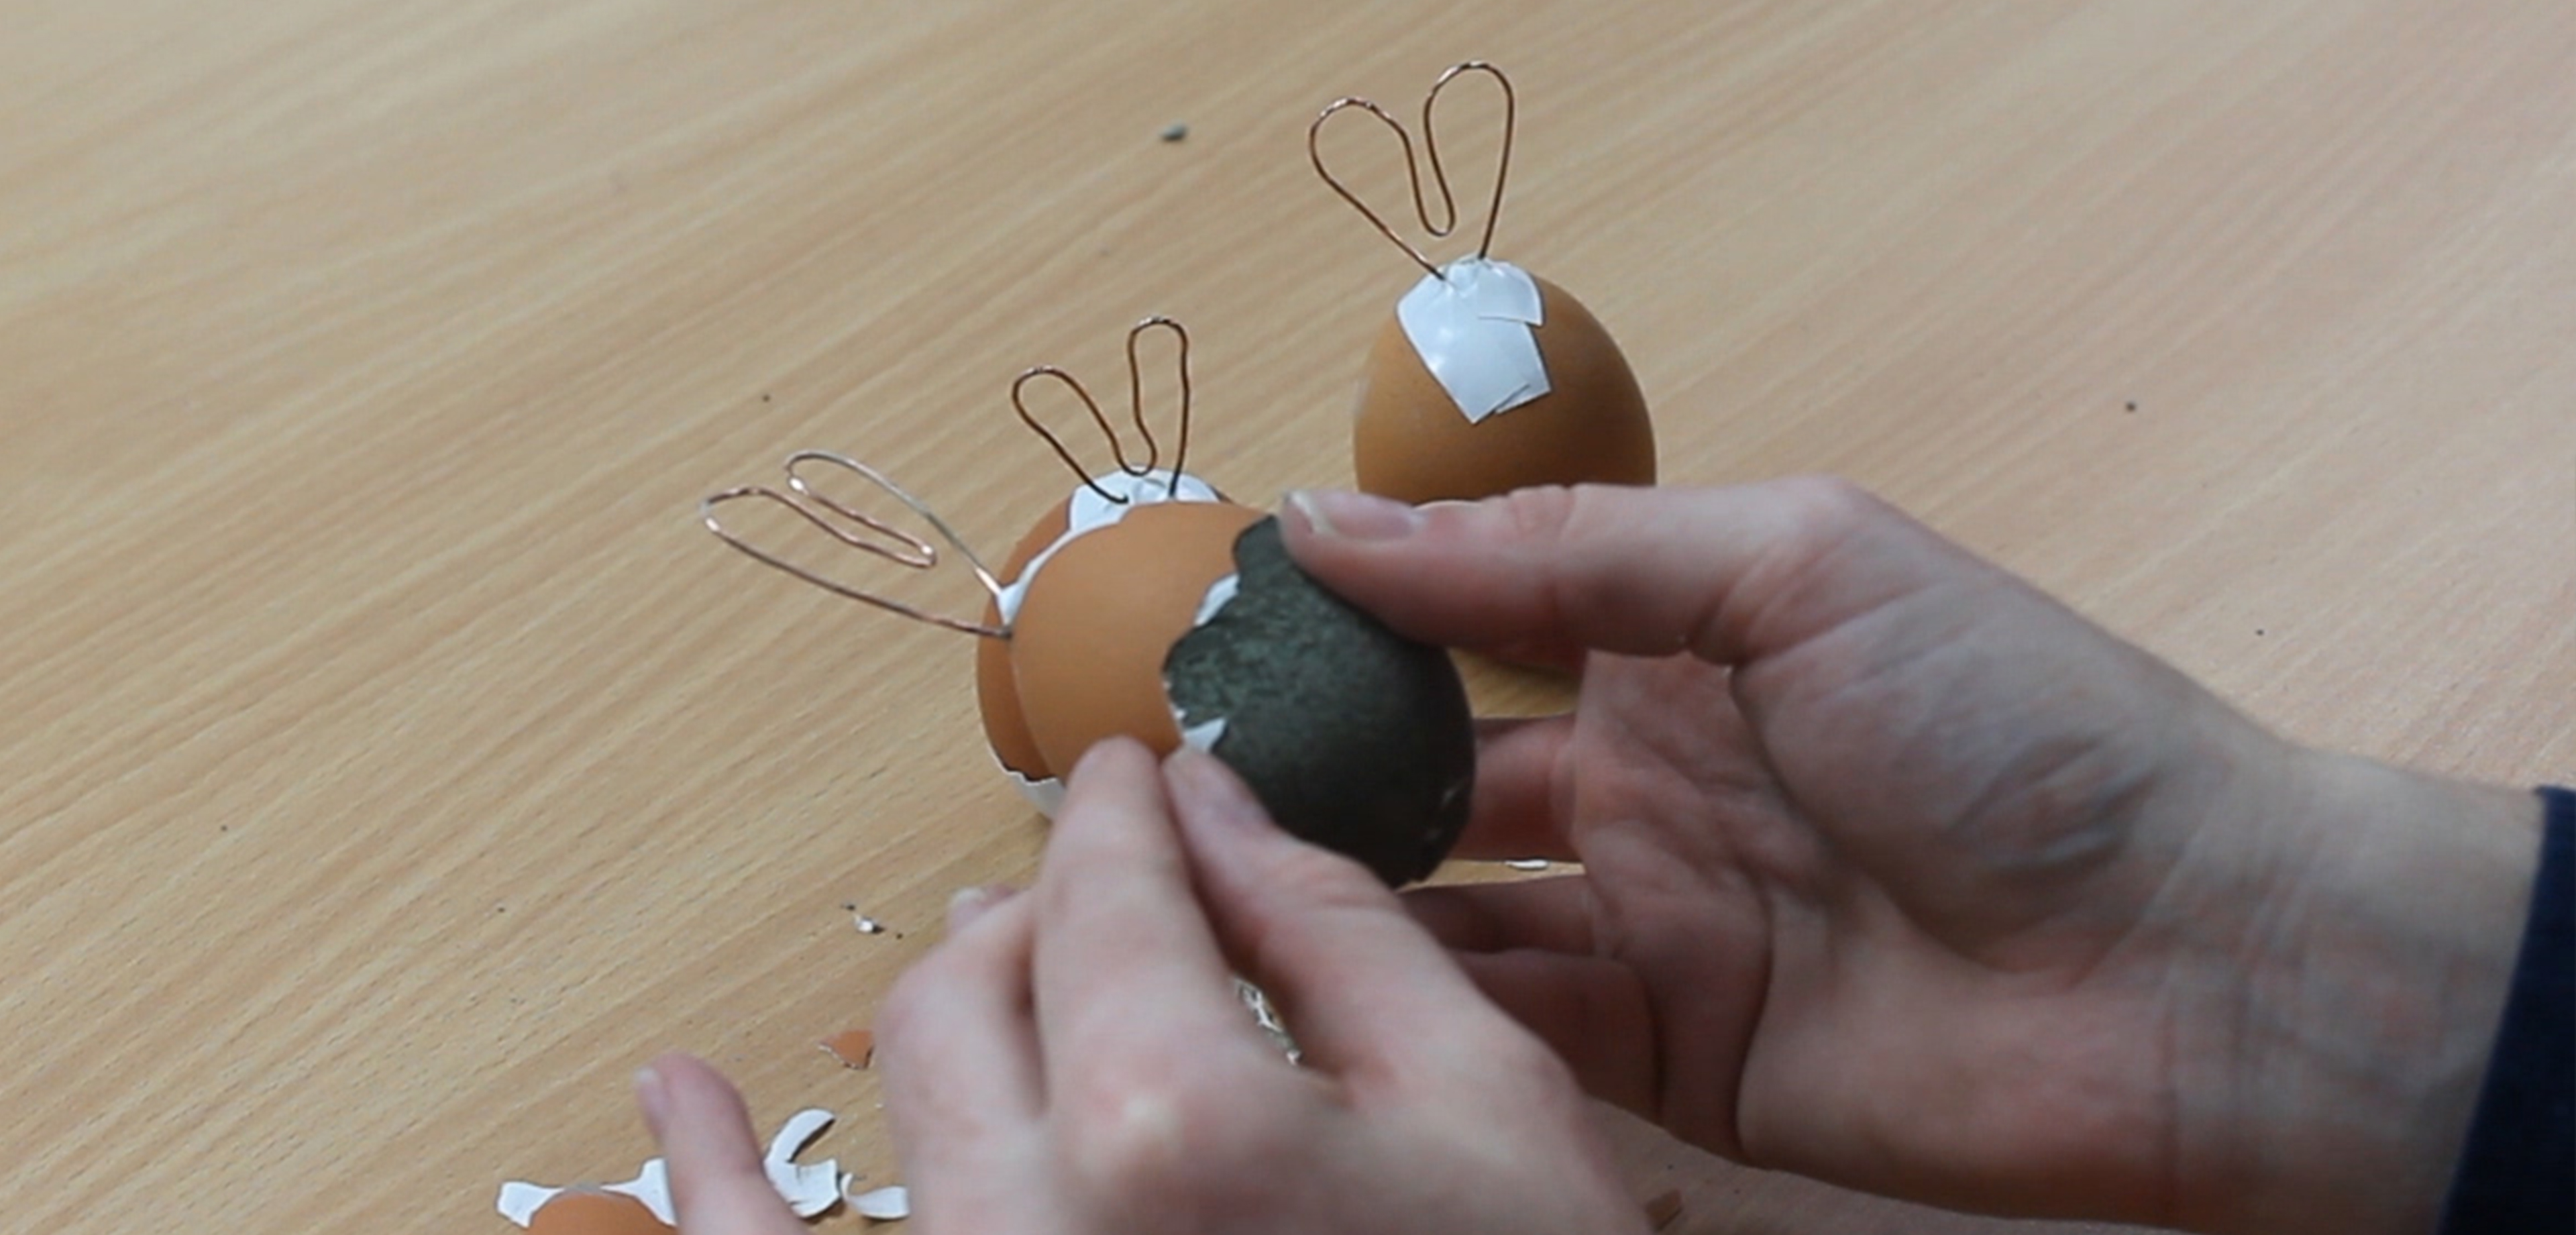
Step 3: Pouring and securing

Still wearing your gloves, hold an egg shell upside down and start pouring your mixture. Make sure to shake the shell as you go to release any trapped air. Fill the egg completely and use a tissue to wipe away any excess before covering the hole with tape.
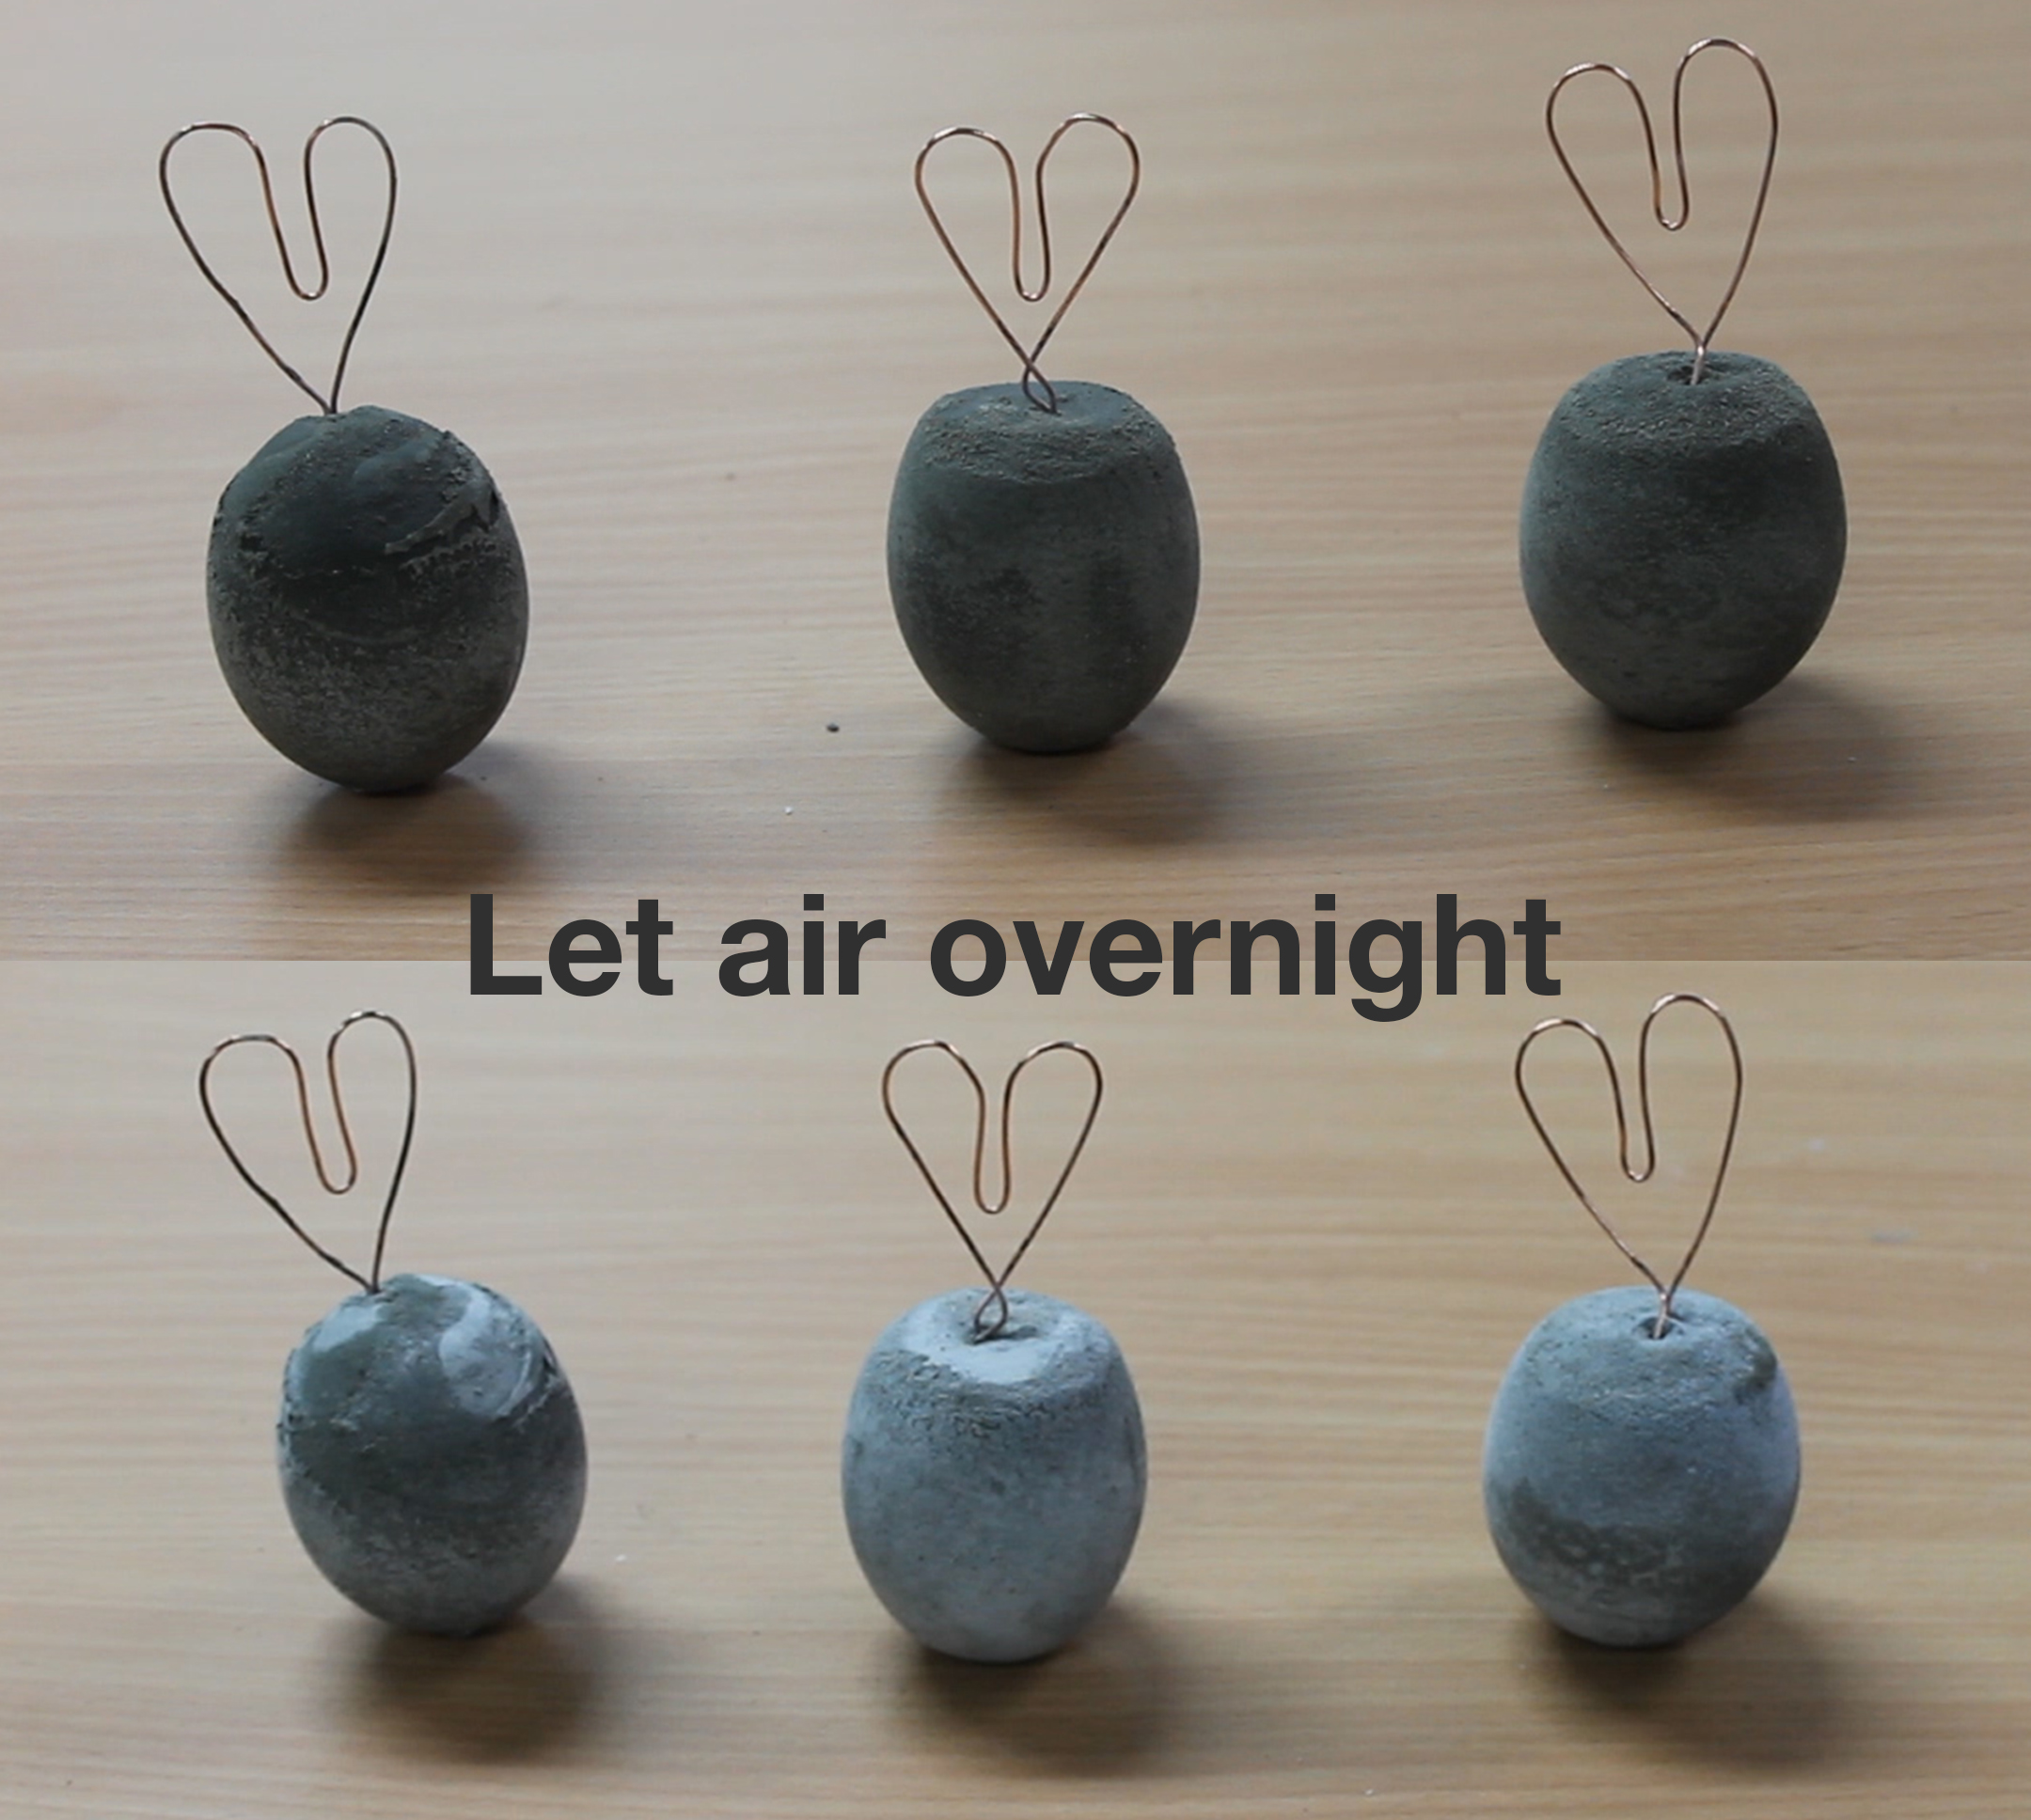
Stand them upright somewhere out of the way. They may leak a little so place them on some scrap paper or cardboard. Wait a minimum of 24 hours to let the Mortar harden.
Step 4: Final touches
Once hard enough, using either your fingers or the scissors (be careful) peel off the egg shells. We’d recommend letting them dry a little bit more (overnight) once they’re uncovered as they may still be a bit damp.
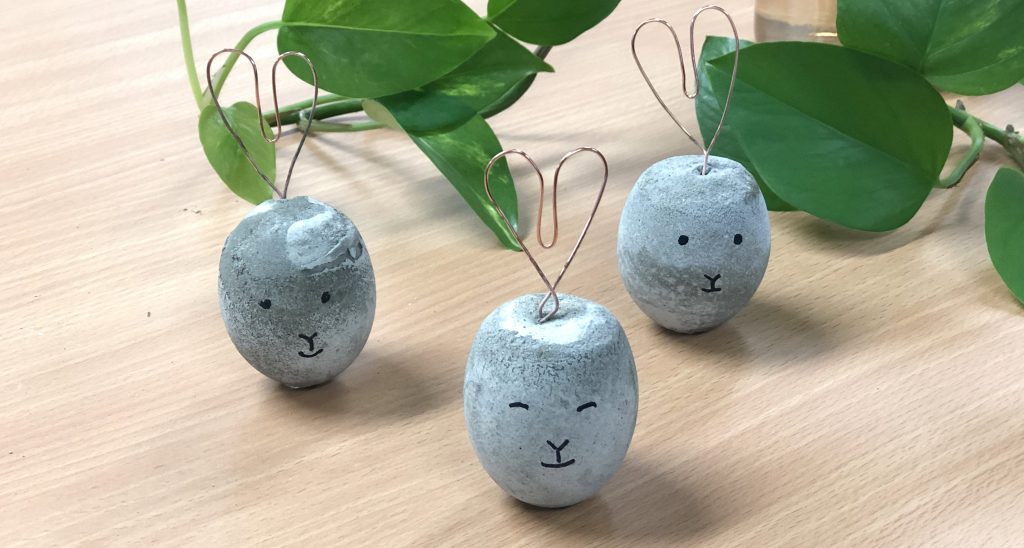
Using your sharpie, draw on your eyes, nose and mouth, and voila! Your very own concrete Easter Bunnies.
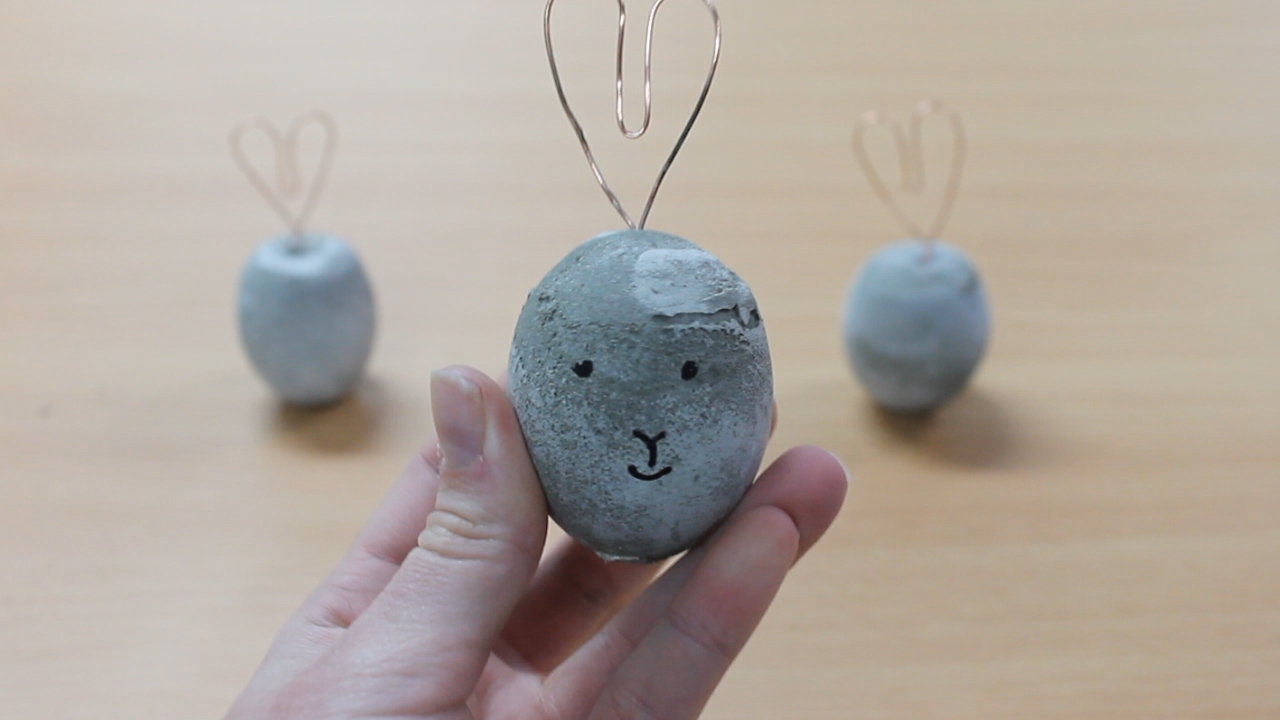
This is a super simple DIY that you can do for decoration or even a bit of fun with the kids on the holidays. So what are you waiting for, hop to it!
Want to find out more about OneMix Mortar, check out our Mortar page. Alternatively, head to our News Centre to see what other fun DIY’s you can do.