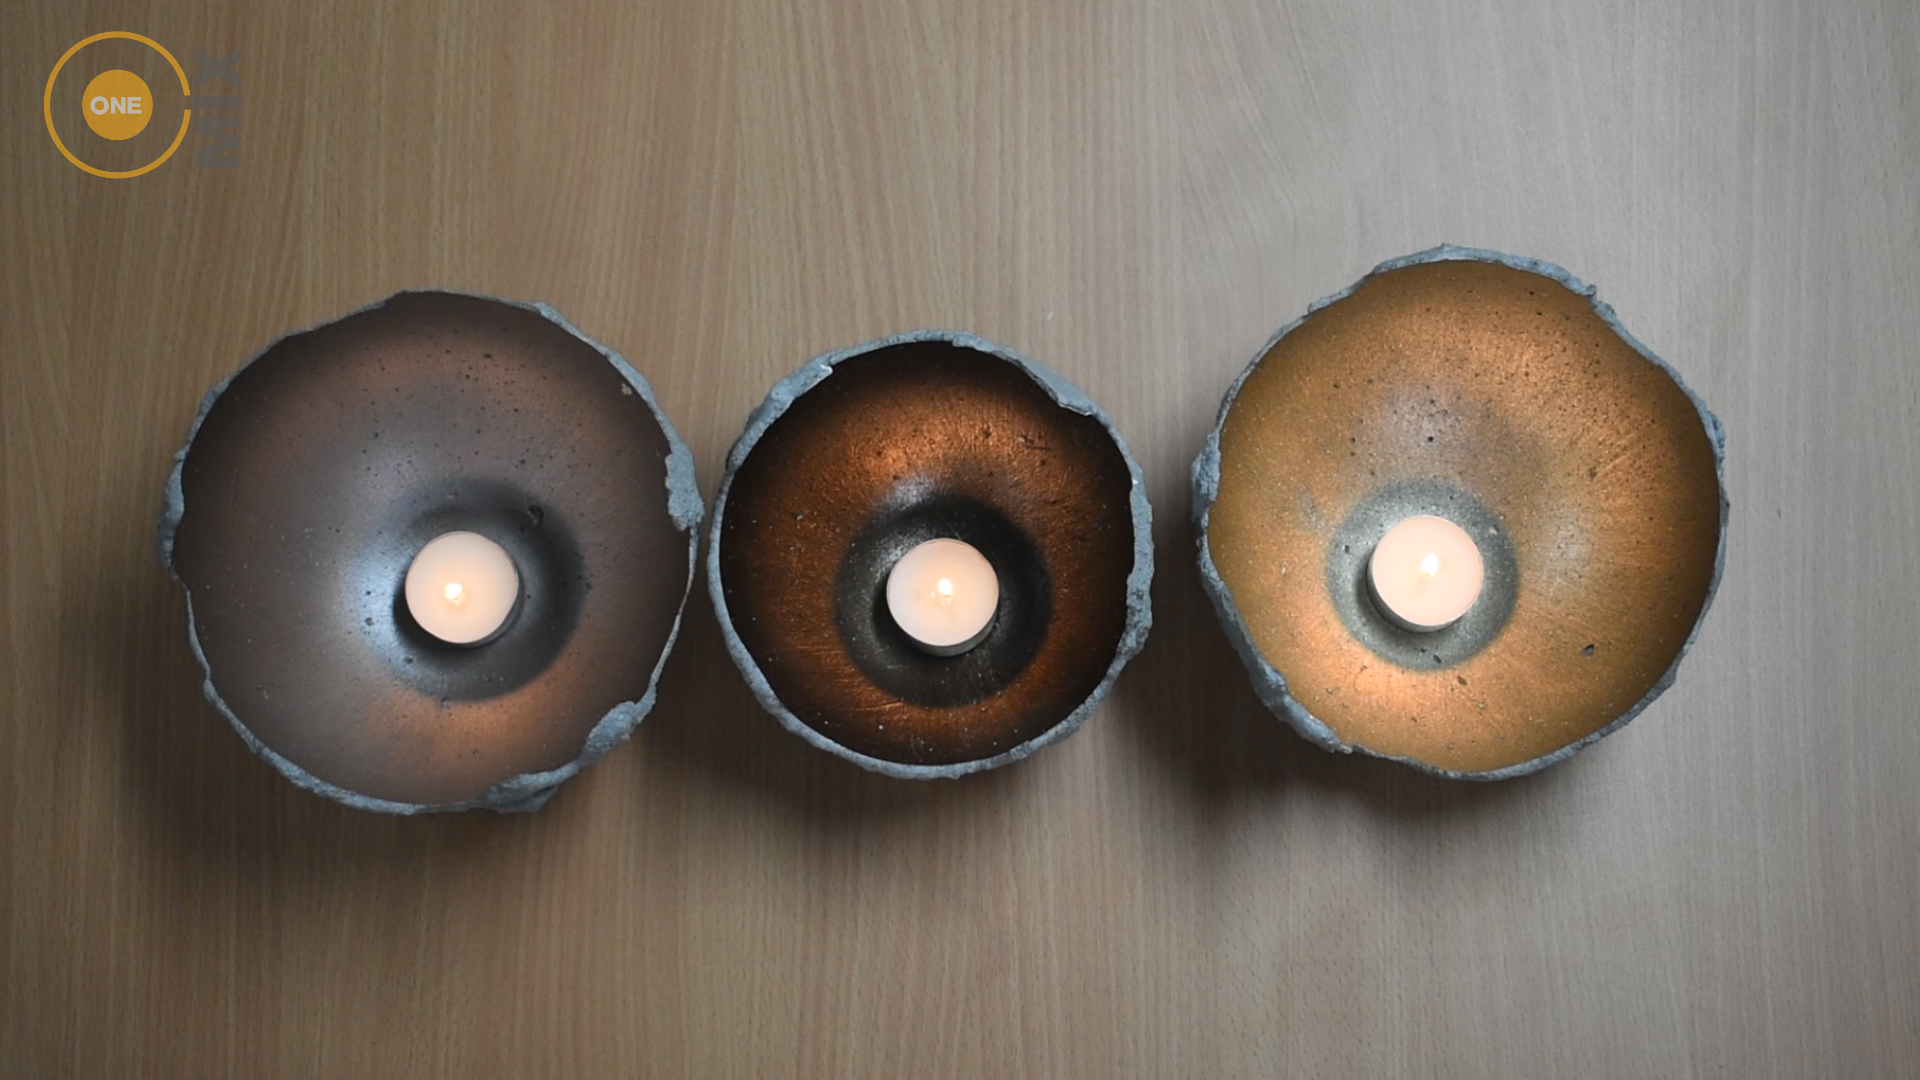
Want a creative way to shine a bit of light around your home? Our little concrete lanterns are perfect for holding tealight candles and shedding a lot of light! So why not give them a go and add a little bit of concrete flare to your home.
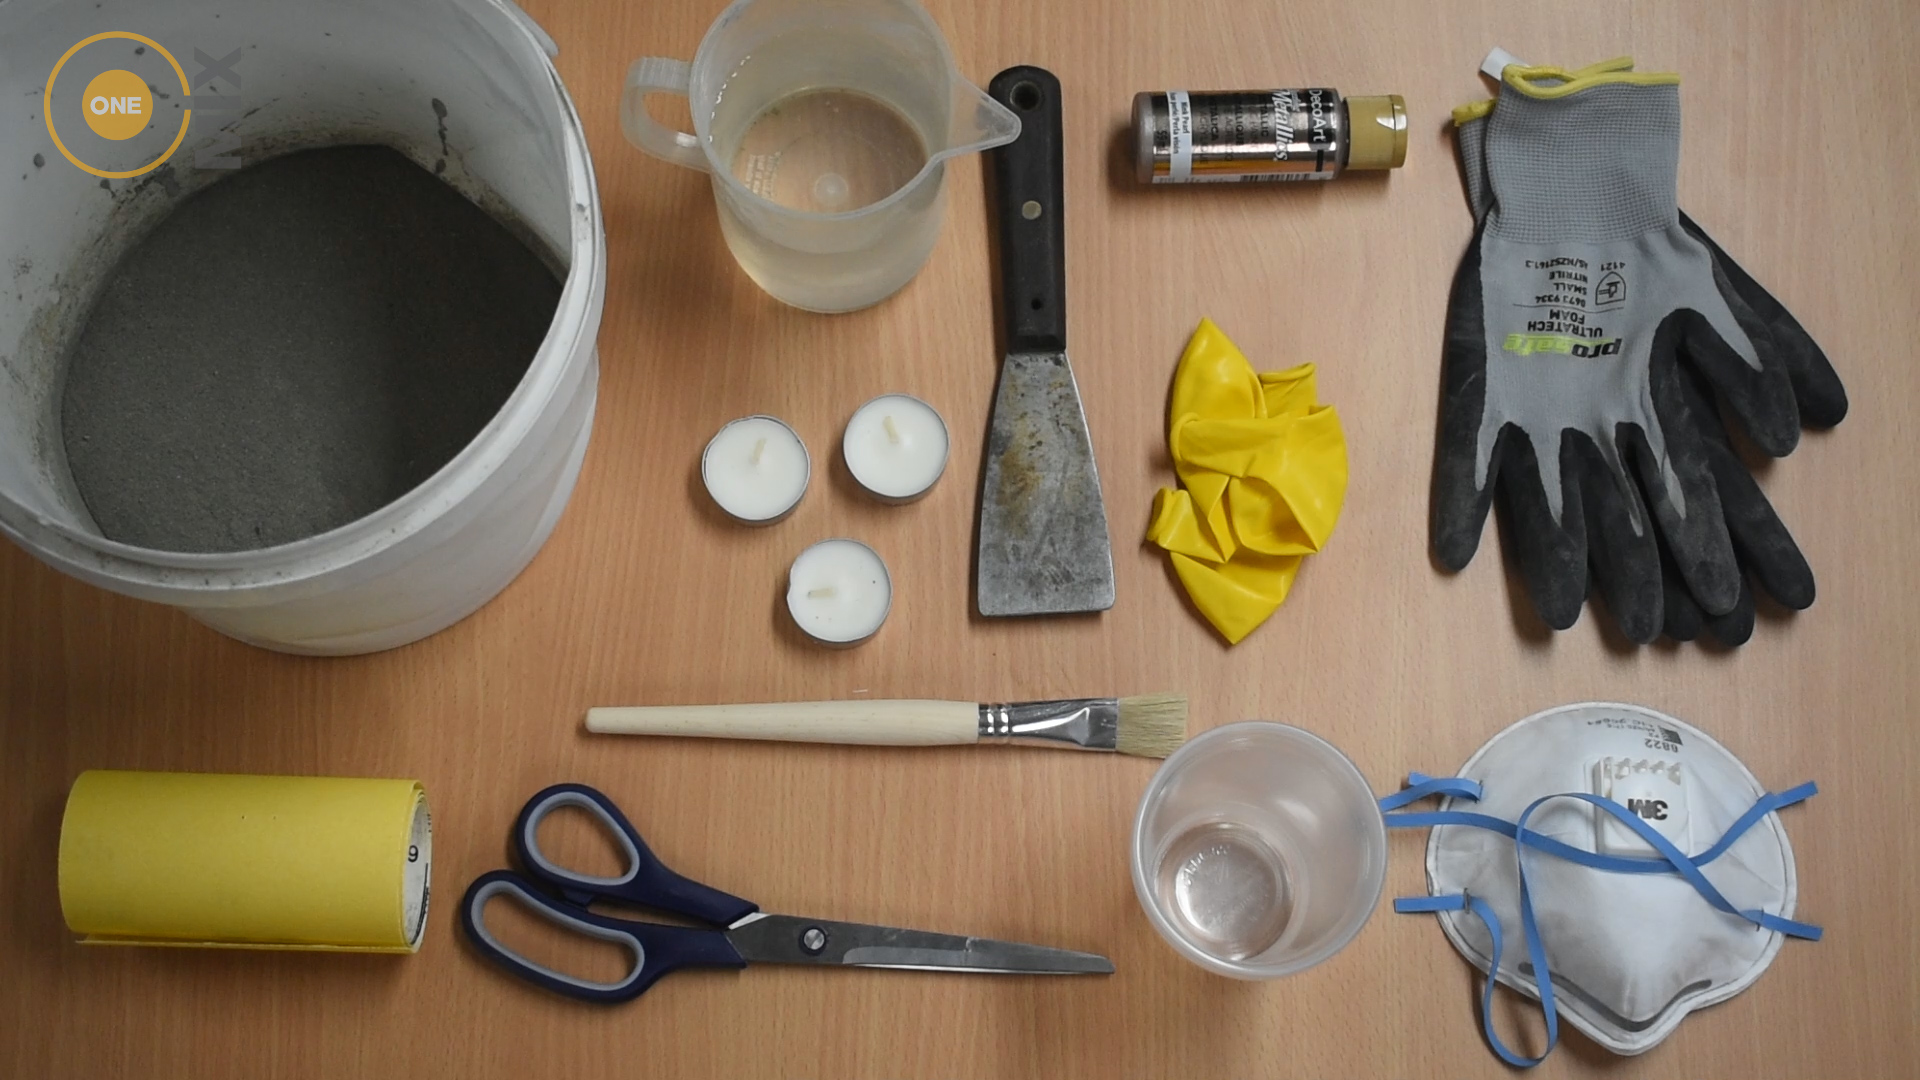
Things you’ll need:
- OneMix Mortar
- Water
- Mixing tool (we used a paint scraper)
- Bucket
- Cups
- Balloons
- Scissors
- Fine sandpaper
- Gloves
- Dust Mask
- Newpaper or sheeting
- Tealight candles
- Metalic Paint and paintbrushes
Starting Tip –
It can be helpful to add weight to the cups your balloons are resting on, to help keep them standing upright. Something as simple as some rocks from the garden would do.
Step 1: Blow up your balloons
You can make these lanterns as big or as small as you like, just blow the balloon up to the size that suits you best. Just be careful though, the bigger the balloon is, the harder it is for the mortar to stick to it and the more fragile it’ll end up being.
We opted for a smaller sized balloon, blown up to be only slightly bigger than our hands.
Step 2: Prepare
Time to lay out your newspaper! After mixing it’ll get messy. So make sure you also have everything handy and ready to use, as it’s hard to stop once you’ve started.
Step 3: Mix up your Mortar
Time to put on your dust mask and gloves!
The amount of Mortar and water you need depends on how big of a balloon you have so use your best judgement at this point.
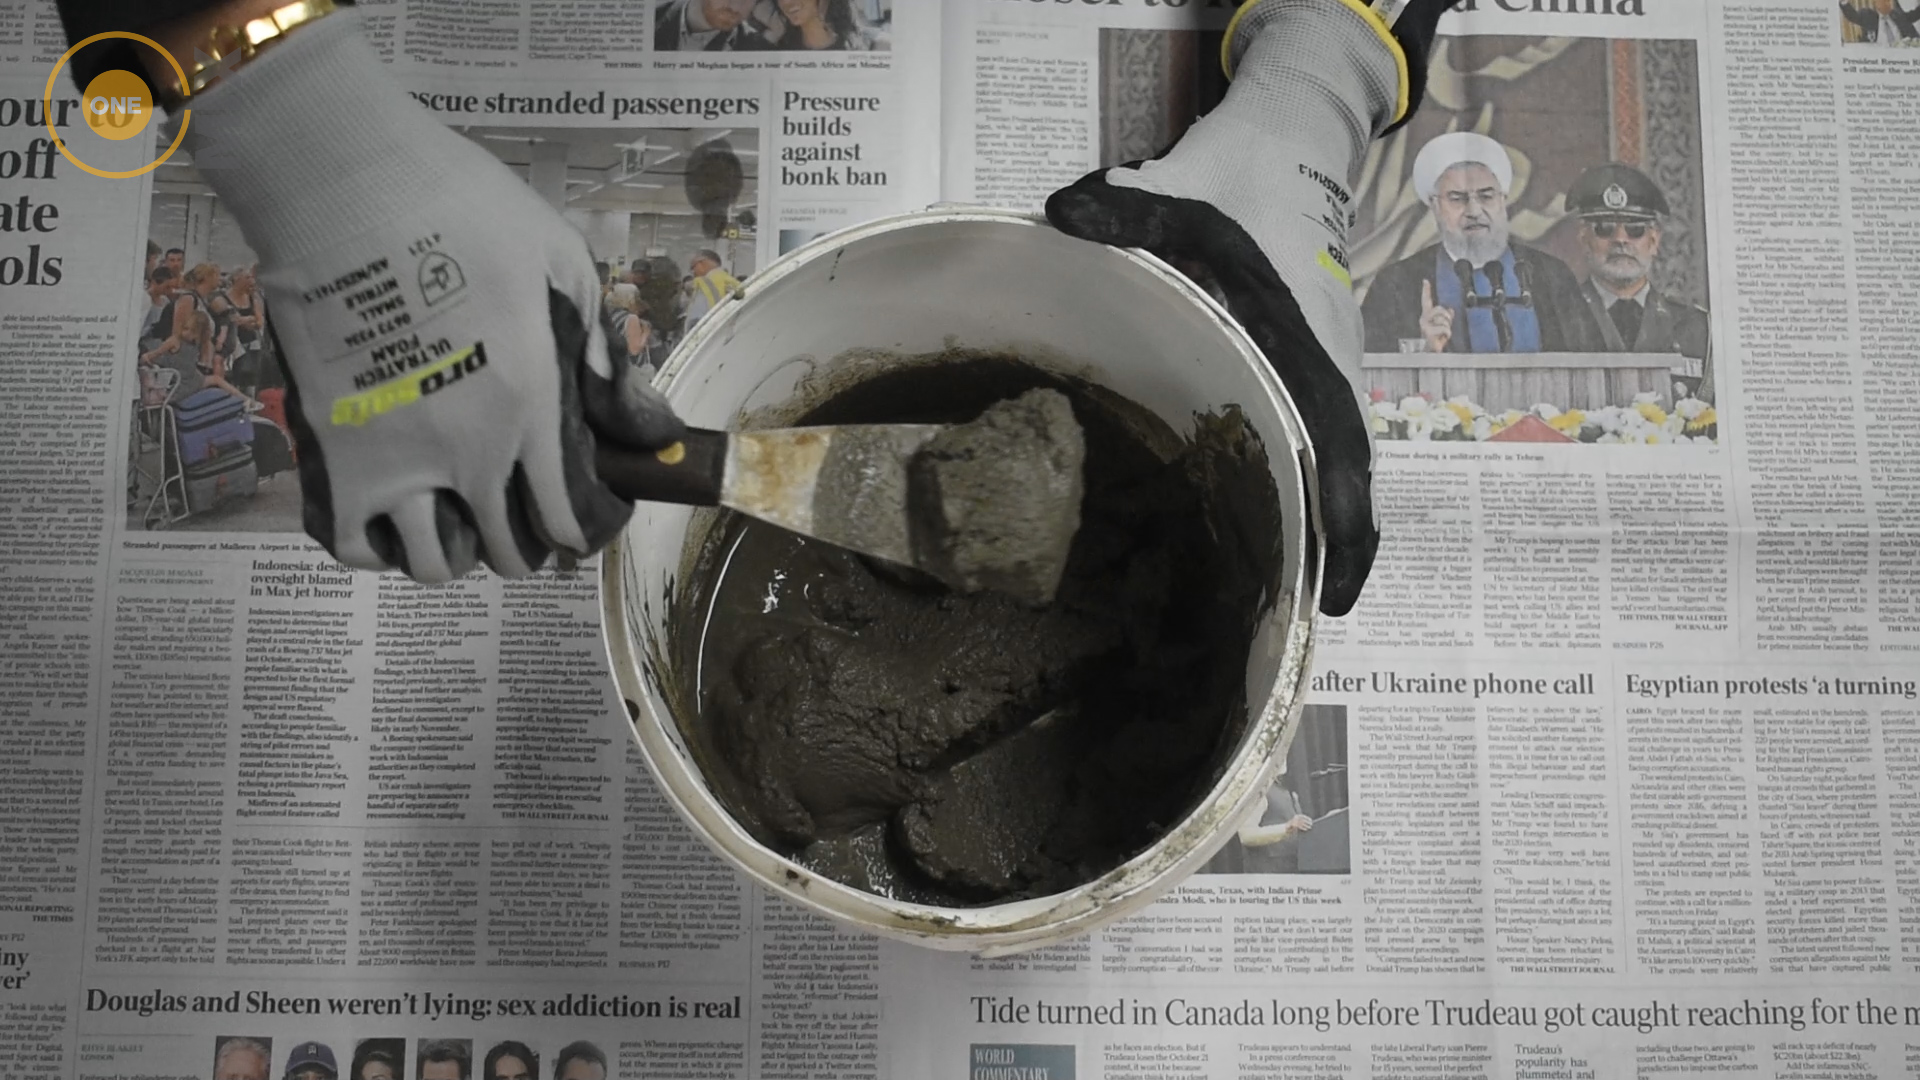
With your Mortar in the bucket, pour in some water and start mixing until completely combined. Add in more water if needed. We’re aiming for quite a thick consistency as otherwise it’ll pour right off the balloon.
Step 4: Get messy
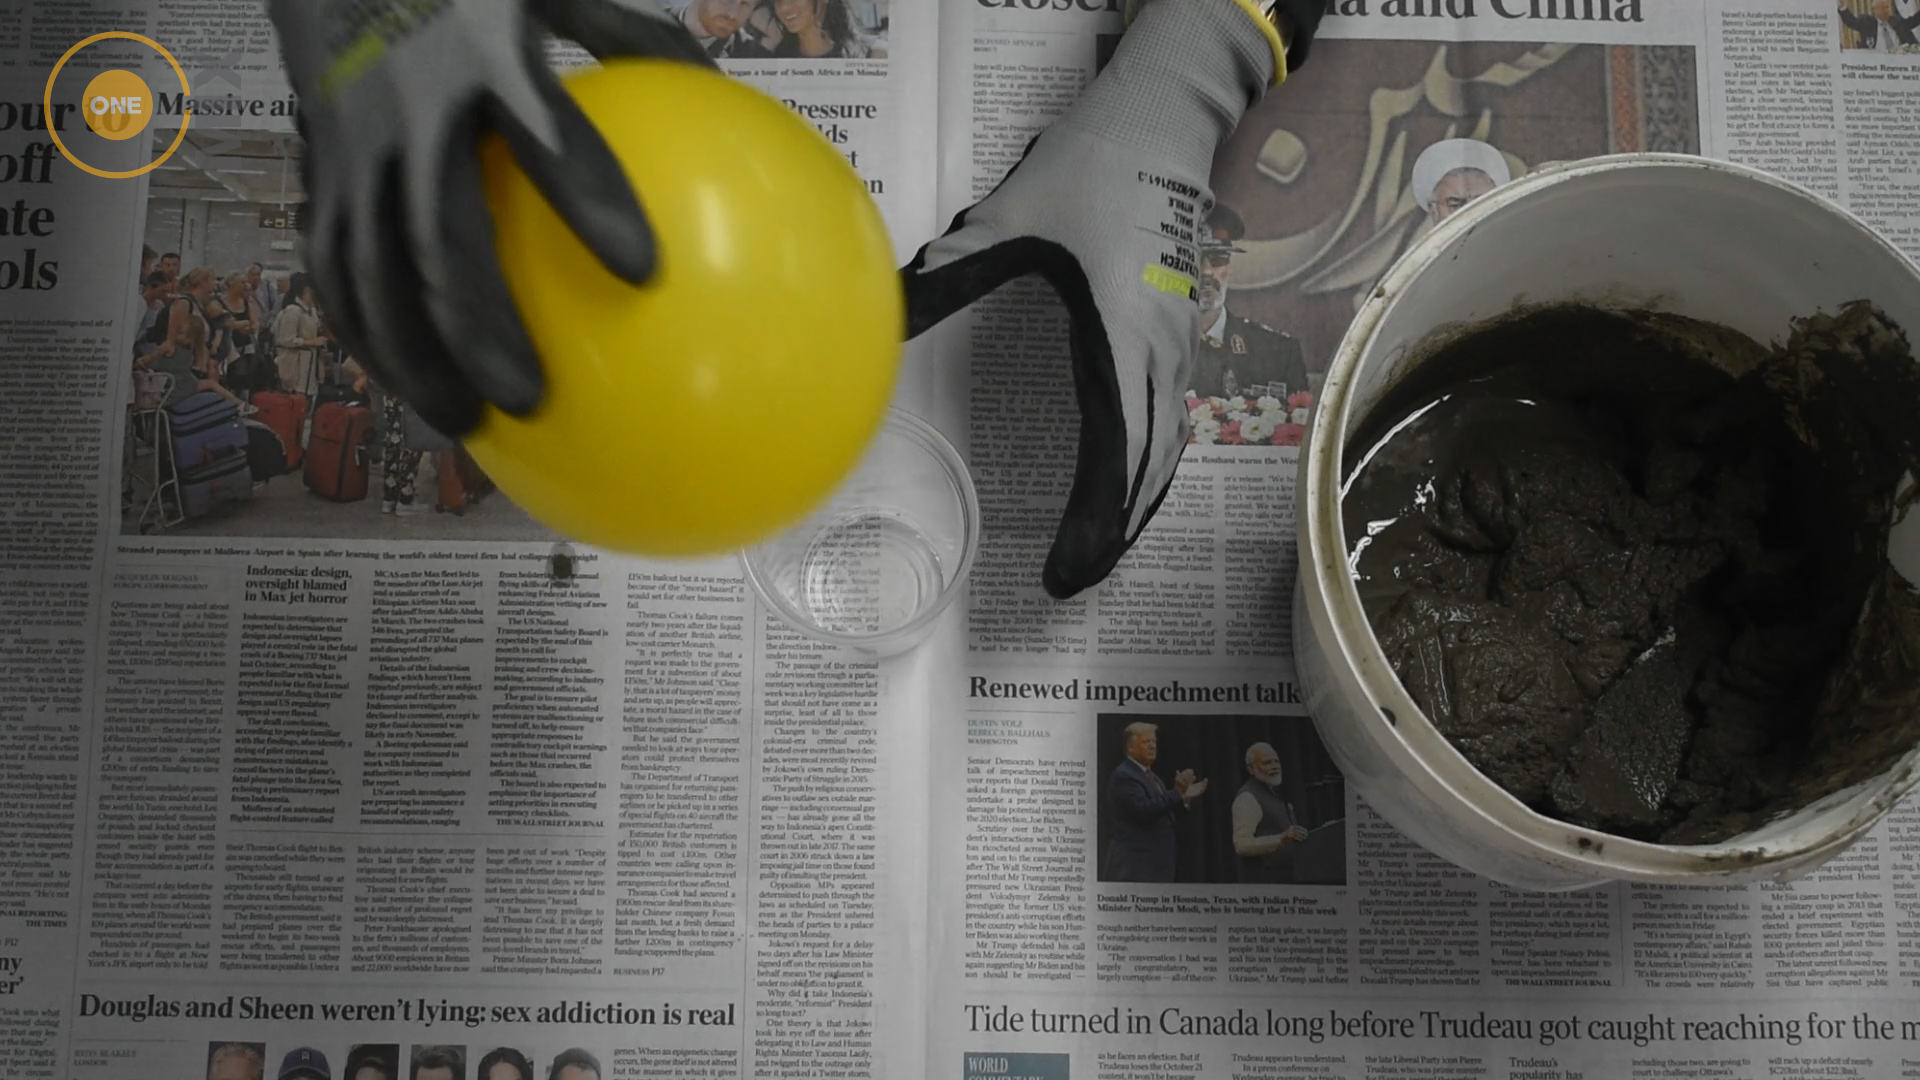
Put your balloon sitting round side up in one of your cups. Using your hands (whilst still wearing your gloves) collect some of the wet Mortar and start patting it onto the balloon. Keep going until you’re satisfied with the coverage.
Repeat on as many balloons as you want.
Tip –
If you want a more robust lanterns, or even to use it for some like a pot plant, add a second layer of mortar once the first layer is partially set to give a bit more strength.
Step 5: Let it set!
Let the lanterns set for a minimum of 24 hrs. As they are quite thin the longer they’re left to cure, the stronger they will be.
Step 6: Sand it down
We chose not to sand ours, however, it you want a smoother finish take the time at this point to gently sand the outside while the lantern is still on the balloon.
Step 7: Time to pop
Gently rotate the balloon so it’s sitting upside down on the cup. Using your scissors, create a small snip at the top of the balloon so the air slowly deflates.
Tip out any broken off chunks and voila, you have a brand new lantern!
Step 8: Pain your Concrete Lanterns
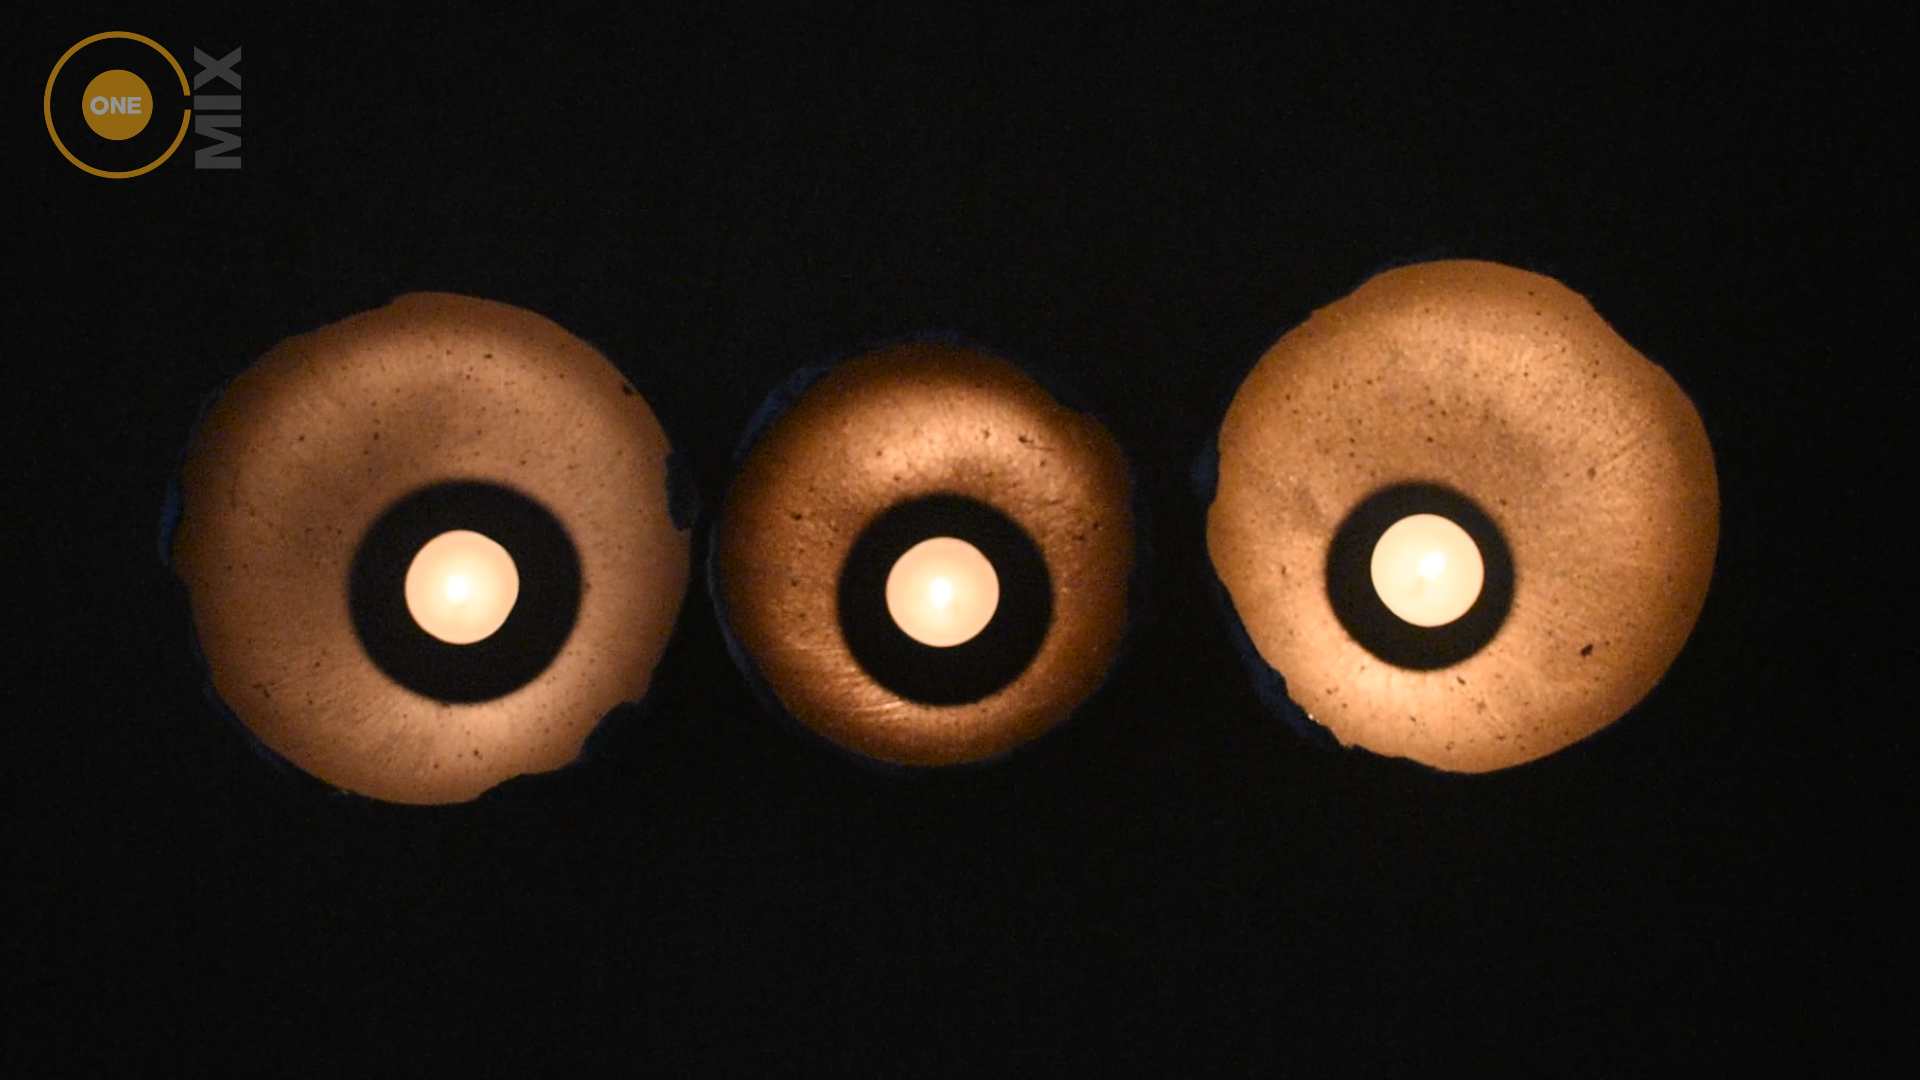
Get creative with your paintbrush and see what you can come up with. We chose to go for metallic colours so the candle light would really reflect off the insides.
Let them dry and add your candles.
There you have it, easy to make Concrete Lanterns that will light up your home and garden. Why not try them out for yourselves or make them as a gift. Or even use them to add a spooky atmosphere to Halloween, which is right around the corner.
Have you given them a try? Make sure to share your pictures with at https://www.facebook.com/OneMix.SC/ we’d love to have a look.
Watch our video below to see it all in action.