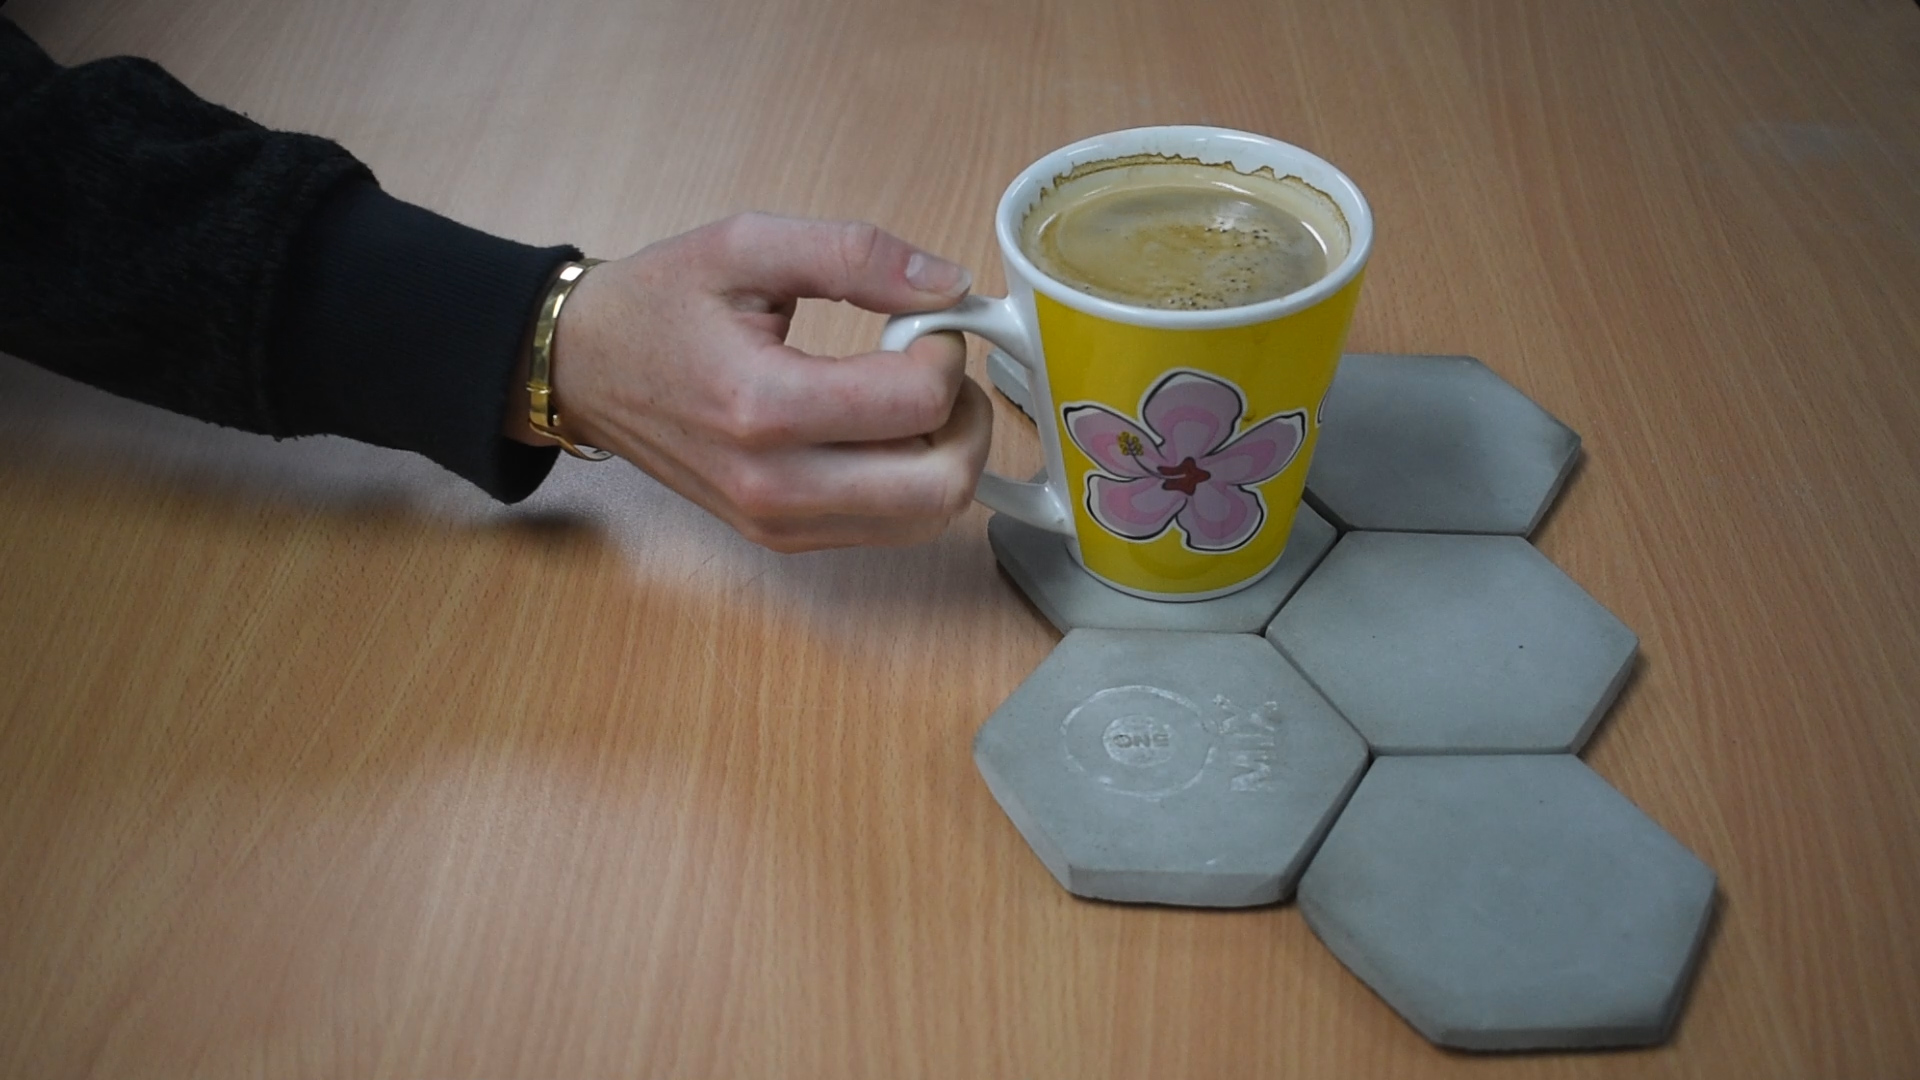
Concrete is something we’re seeing more and more, in and around homes, as the modern industrial trend grows. Things like pots, lamps, tables and even coasters! They can be quiet expensive to buy, so why not DIY your own little bit of concrete style and make some awesome looking coasters. Better yet, Father’s Day is just around the corner, they would make a perfect gift for any dad.
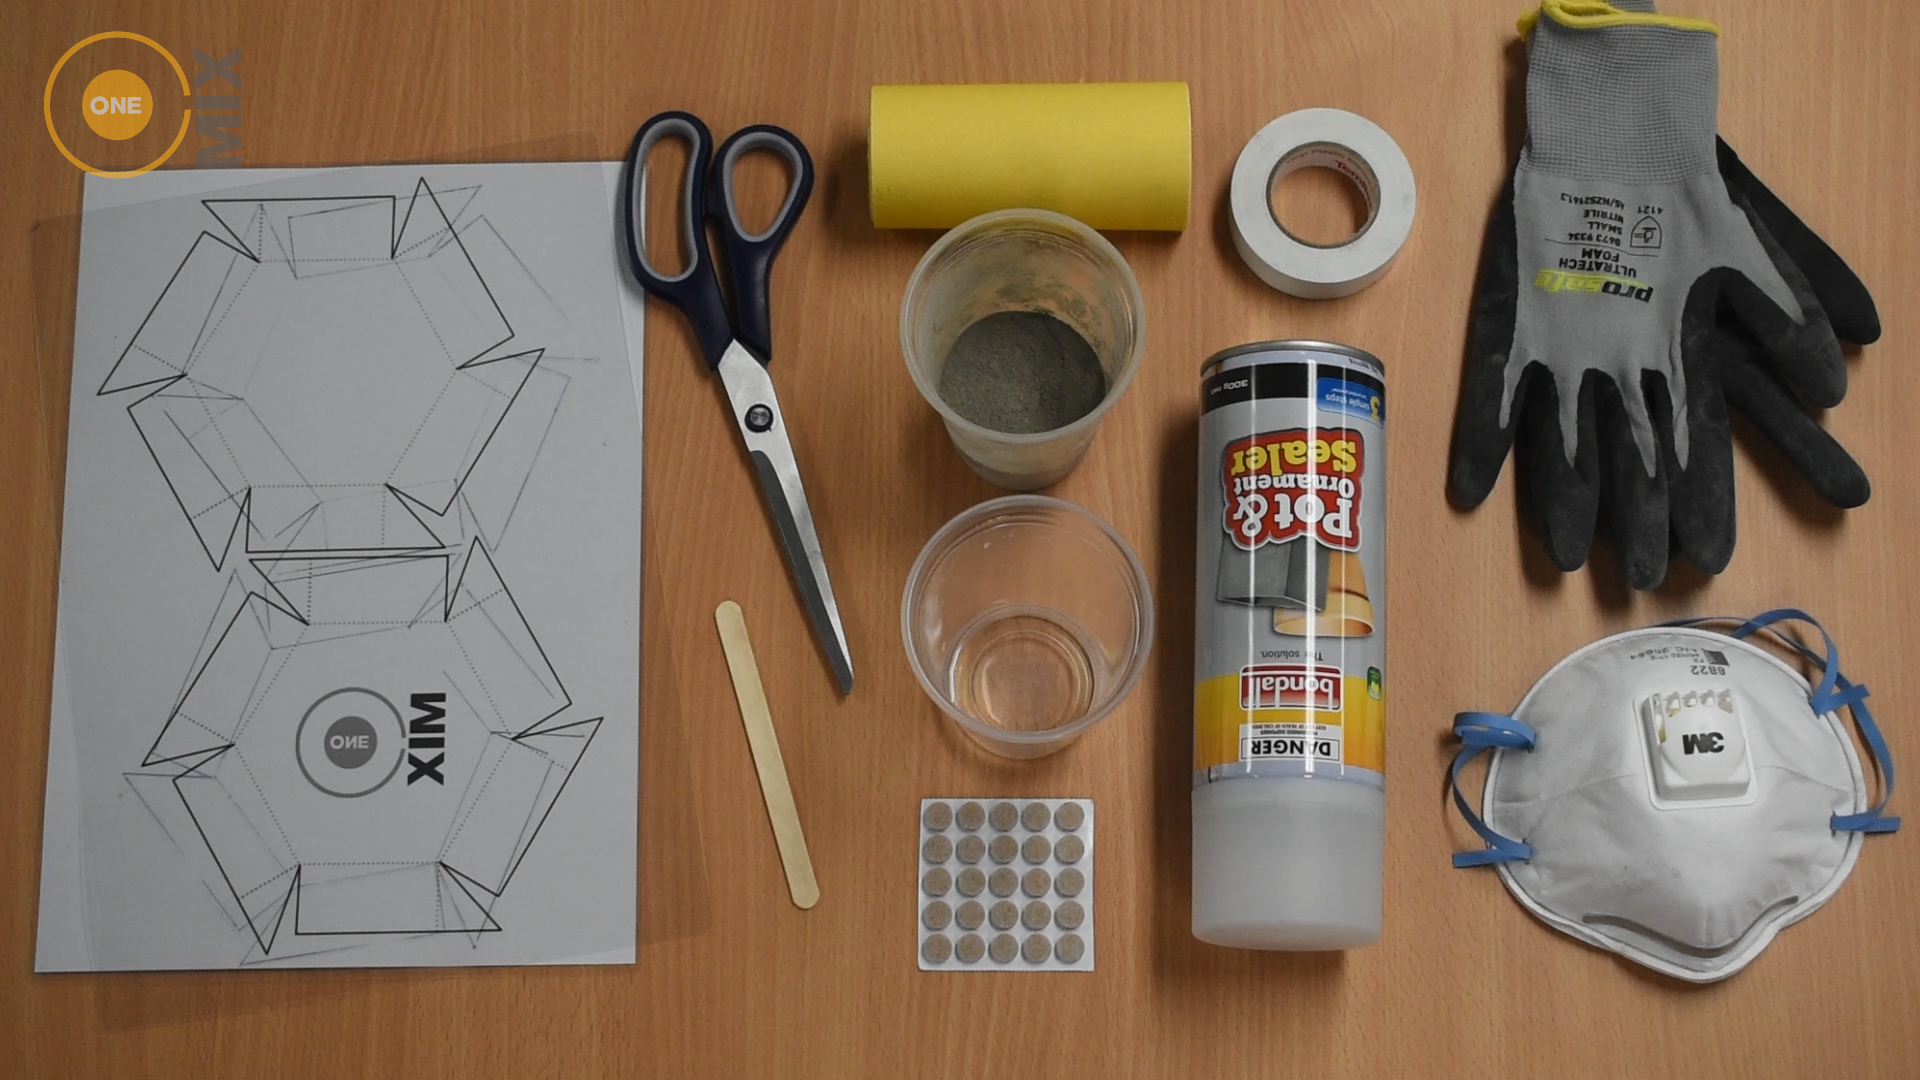
Things you’ll need:
- OneMix Mortar – About 6 heaped spoons worth per coaster
- Water – About 30-40ml per coaster
- Spoon
- Mixing tool (we used a paddle pop stick)
- Something to mix in (plastic cups are a good option as they can be recycled afterwards)
- Thick card (white) or thin plastic
- Printed mould template (Click here to download the Coaster template)
- Pen and ruler
- Scissors
- Fine sandpaper
- Concrete sealer
- Circular felt pads (about 10mm to use as feet)
- Gloves
- Dust Mask
- Thick tape
- (Optional) Paint and paintbrushes
Starting Tip –
You can use whatever mould you want for your coasters, we decided to make our own using a hexagon template and cutting this out. To use this template click here.
If you are making your own mould, we would recommend using either thick card if you want more of a matte finish or a thin sheet of plastic for a shiny finish. For this DIY we opted to use plastic as we found it held its shape a bit better through the drying process and gave more defined edges.
Step 1: Make your mould
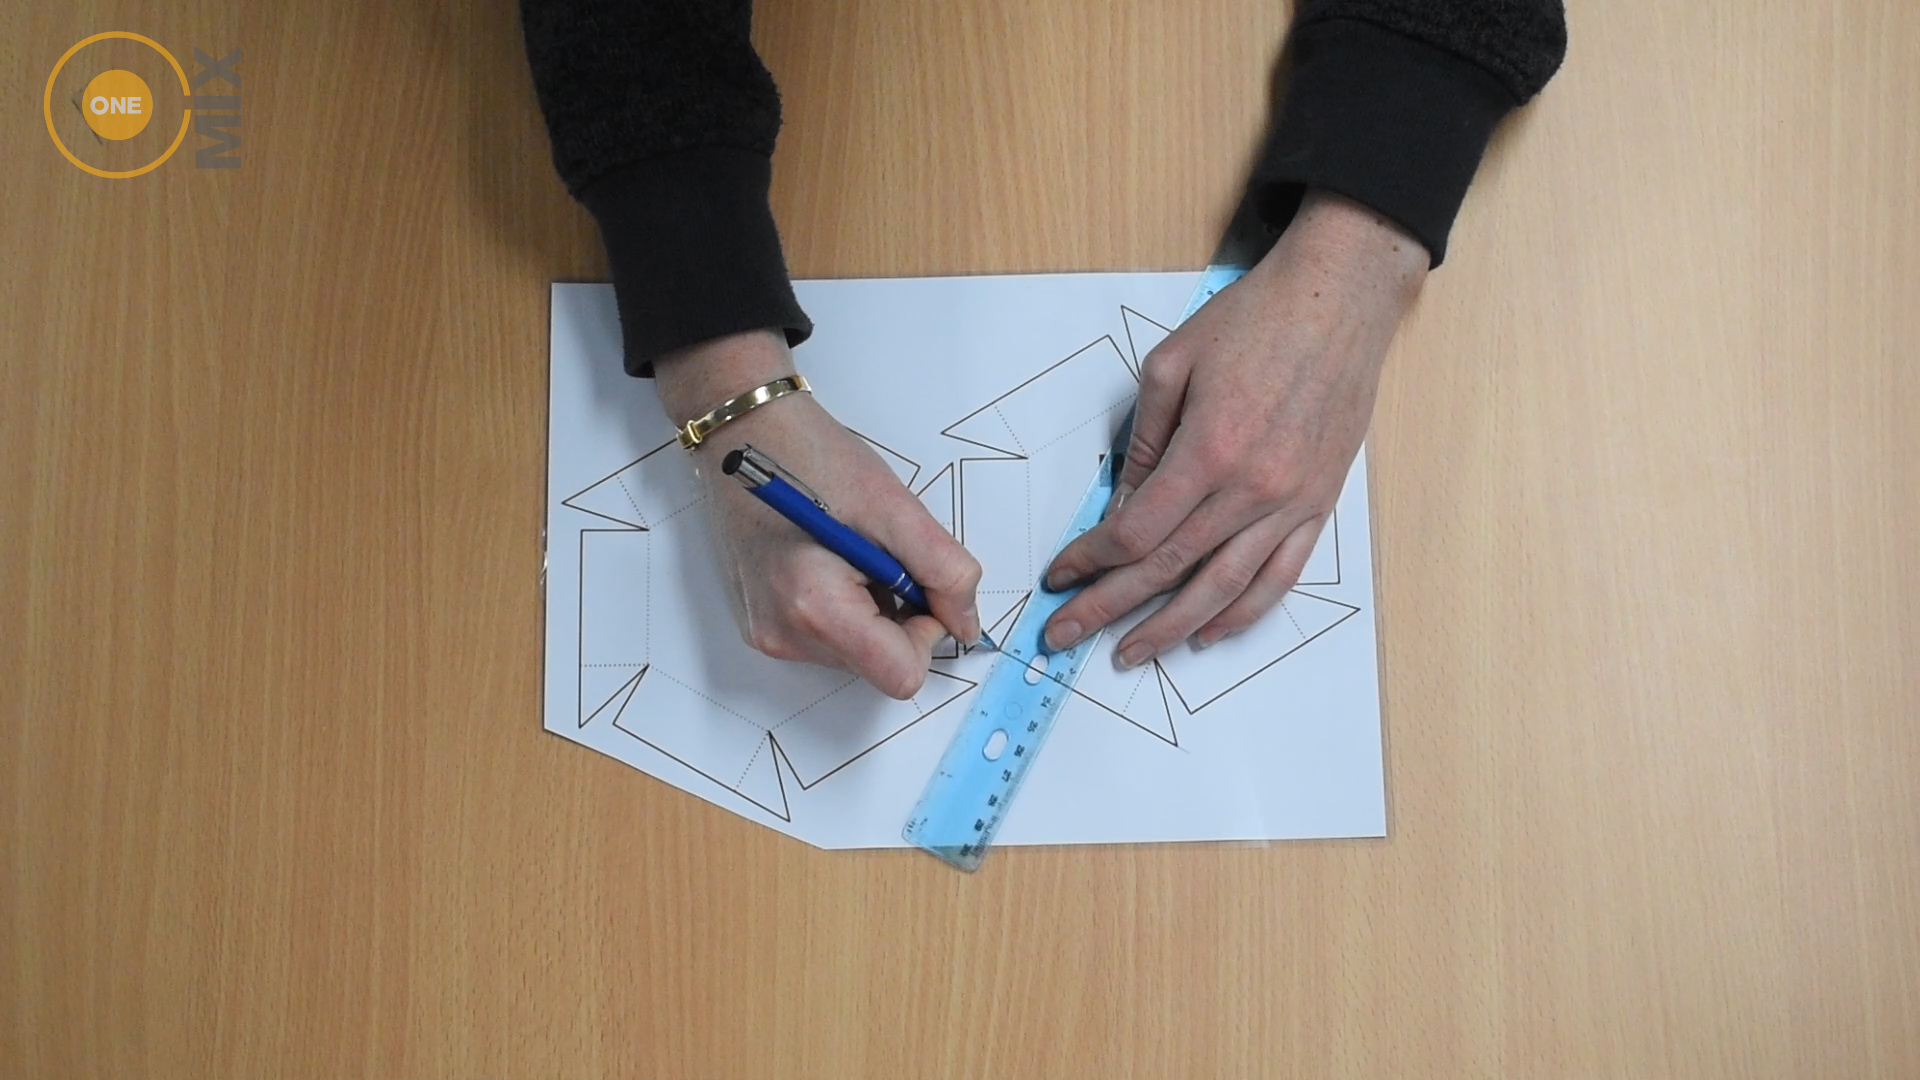
Trace the hexagon design onto the plastic sheet using your pen and ruler to get straight lines. With the scissors, carefully cut out the shape and fold along watch of the fold lines. Tape up the corners, with the flaps on the outside, to form your shape. Repeat until you have the desired number of coasters – a good size set is about six.
Step 2: Mix up your Mortar
With six spoons of Mortar in a cup, pour in approx. 30ml of water and mix until completely combined. We’re aiming for a cake batter like consistency.
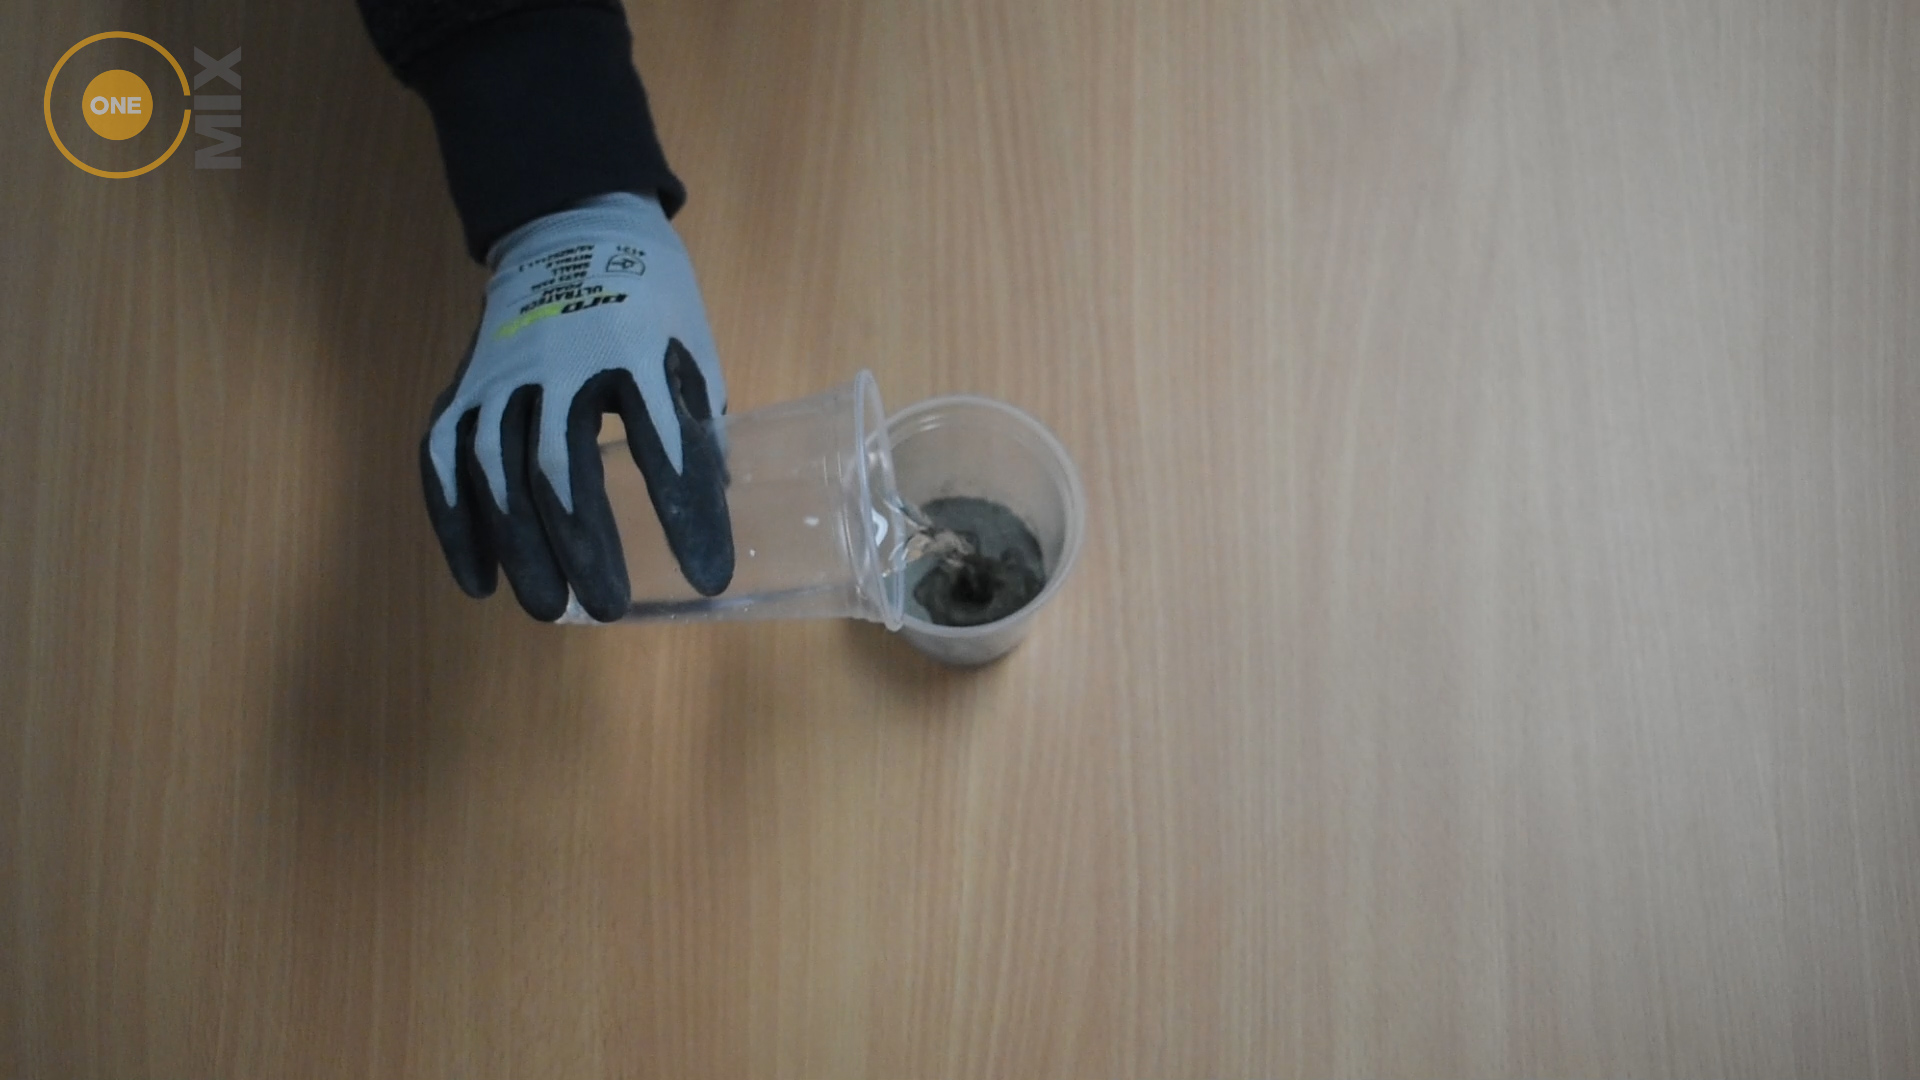
Note – that this is only for one coaster; we mixed each individually, but feel free to combine the quantity you need to do more at once.
Step 3: Pour into your Moulds
With your mould sitting on a flat surface pour the Mortar mix in. Then gently tap the mould against your work surface to force out any air bubbles.
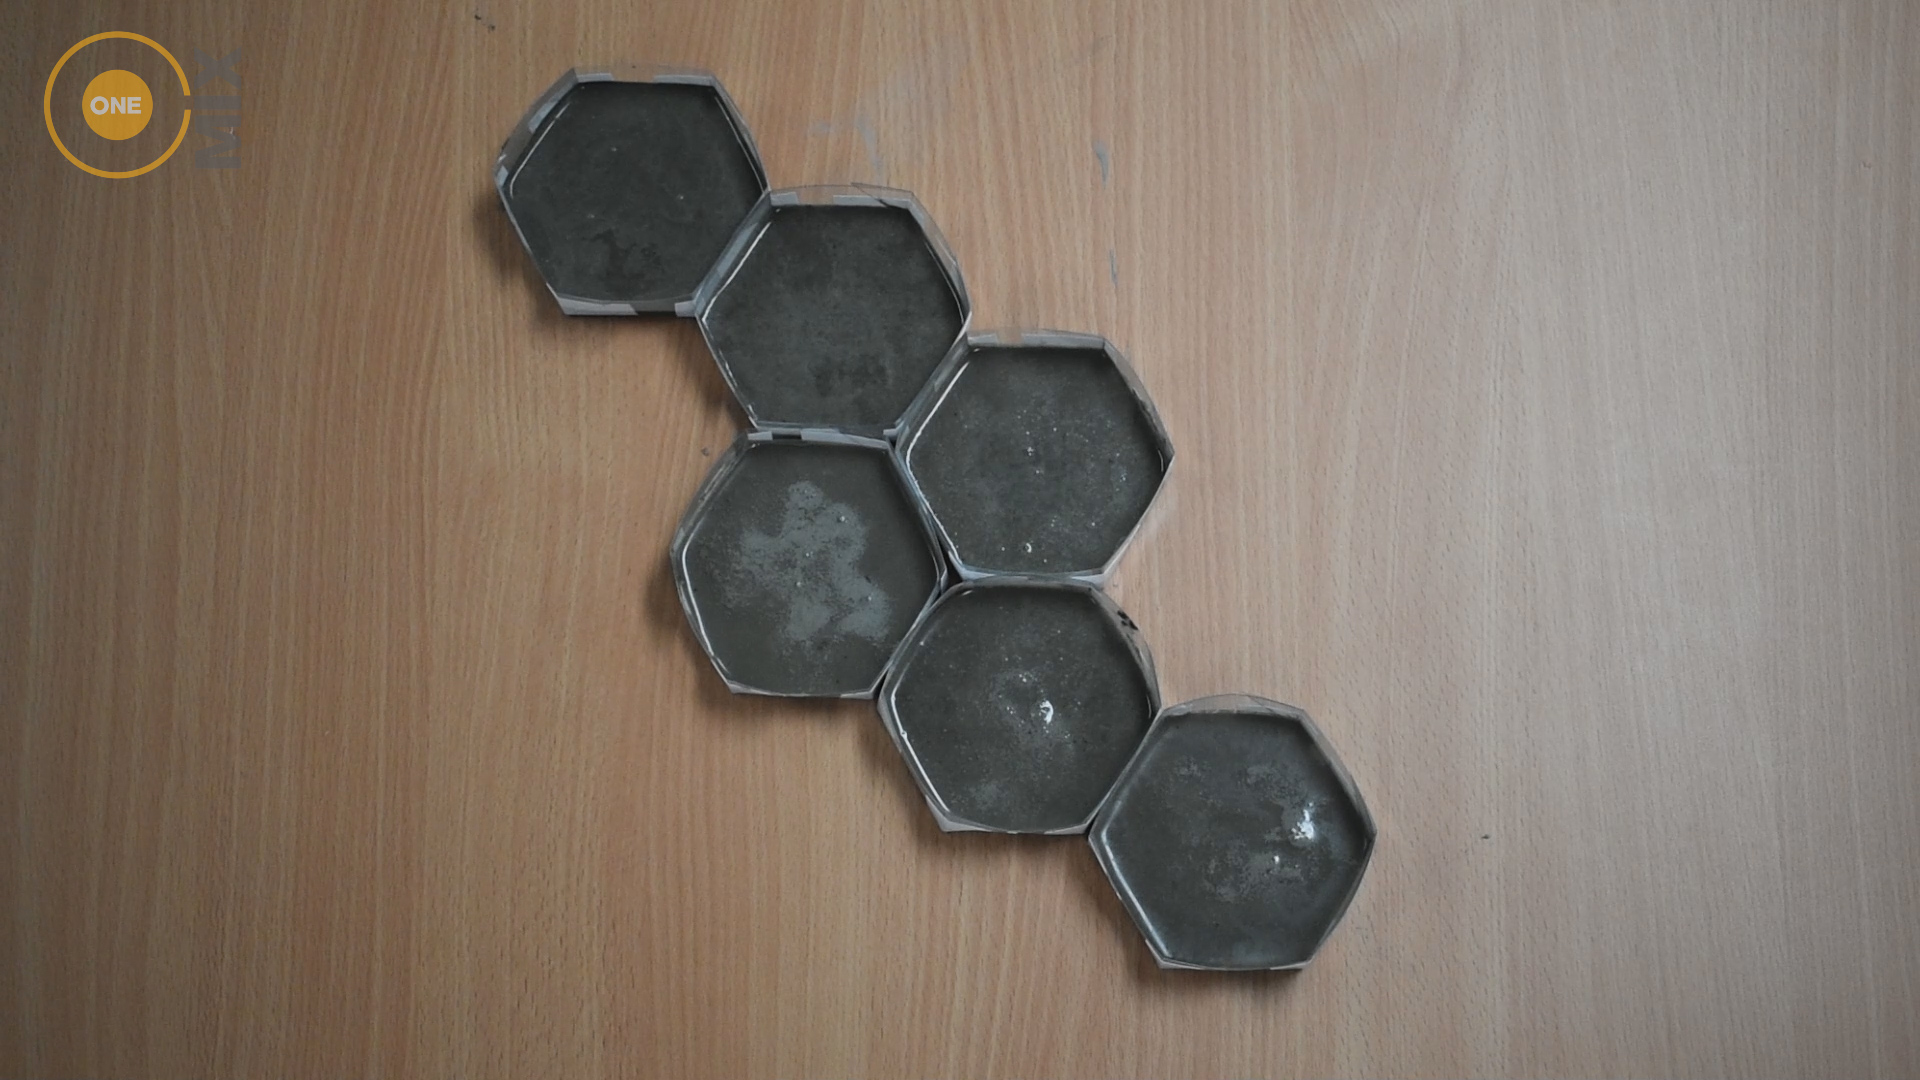
Using our template, this mix design will make coasters approximately 6-7mm thick.
Step 4: Let it set!
Whilst setting, place a light book over the top of the moulds to ensure they stay flat against your work surface.
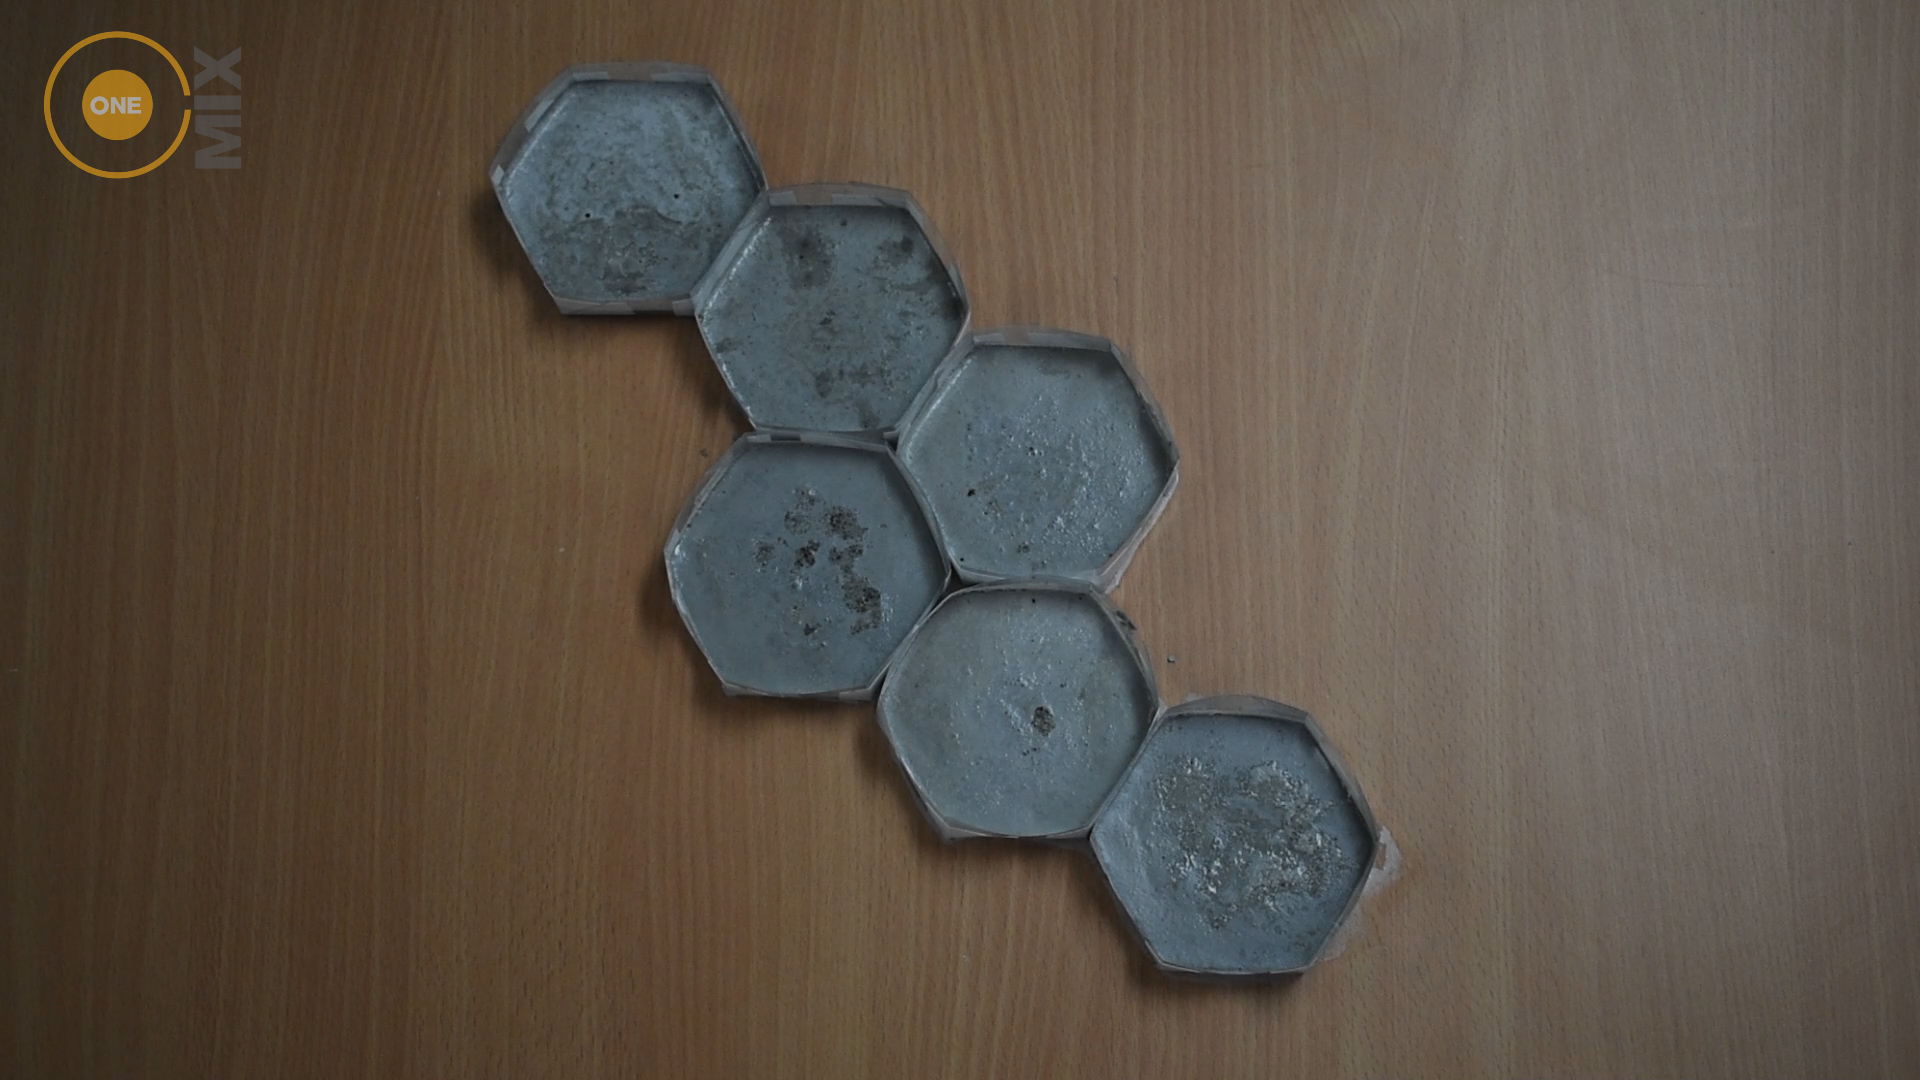
Let the coasters set for a minimum of 24hrs. However, as they are thin, the longer they’re to cure the stronger the coasters will be. We removed ours from the moulds after 24 hours and then allowed them to sit for a further 48 hours to cure; they will also lighten in colour during this process.
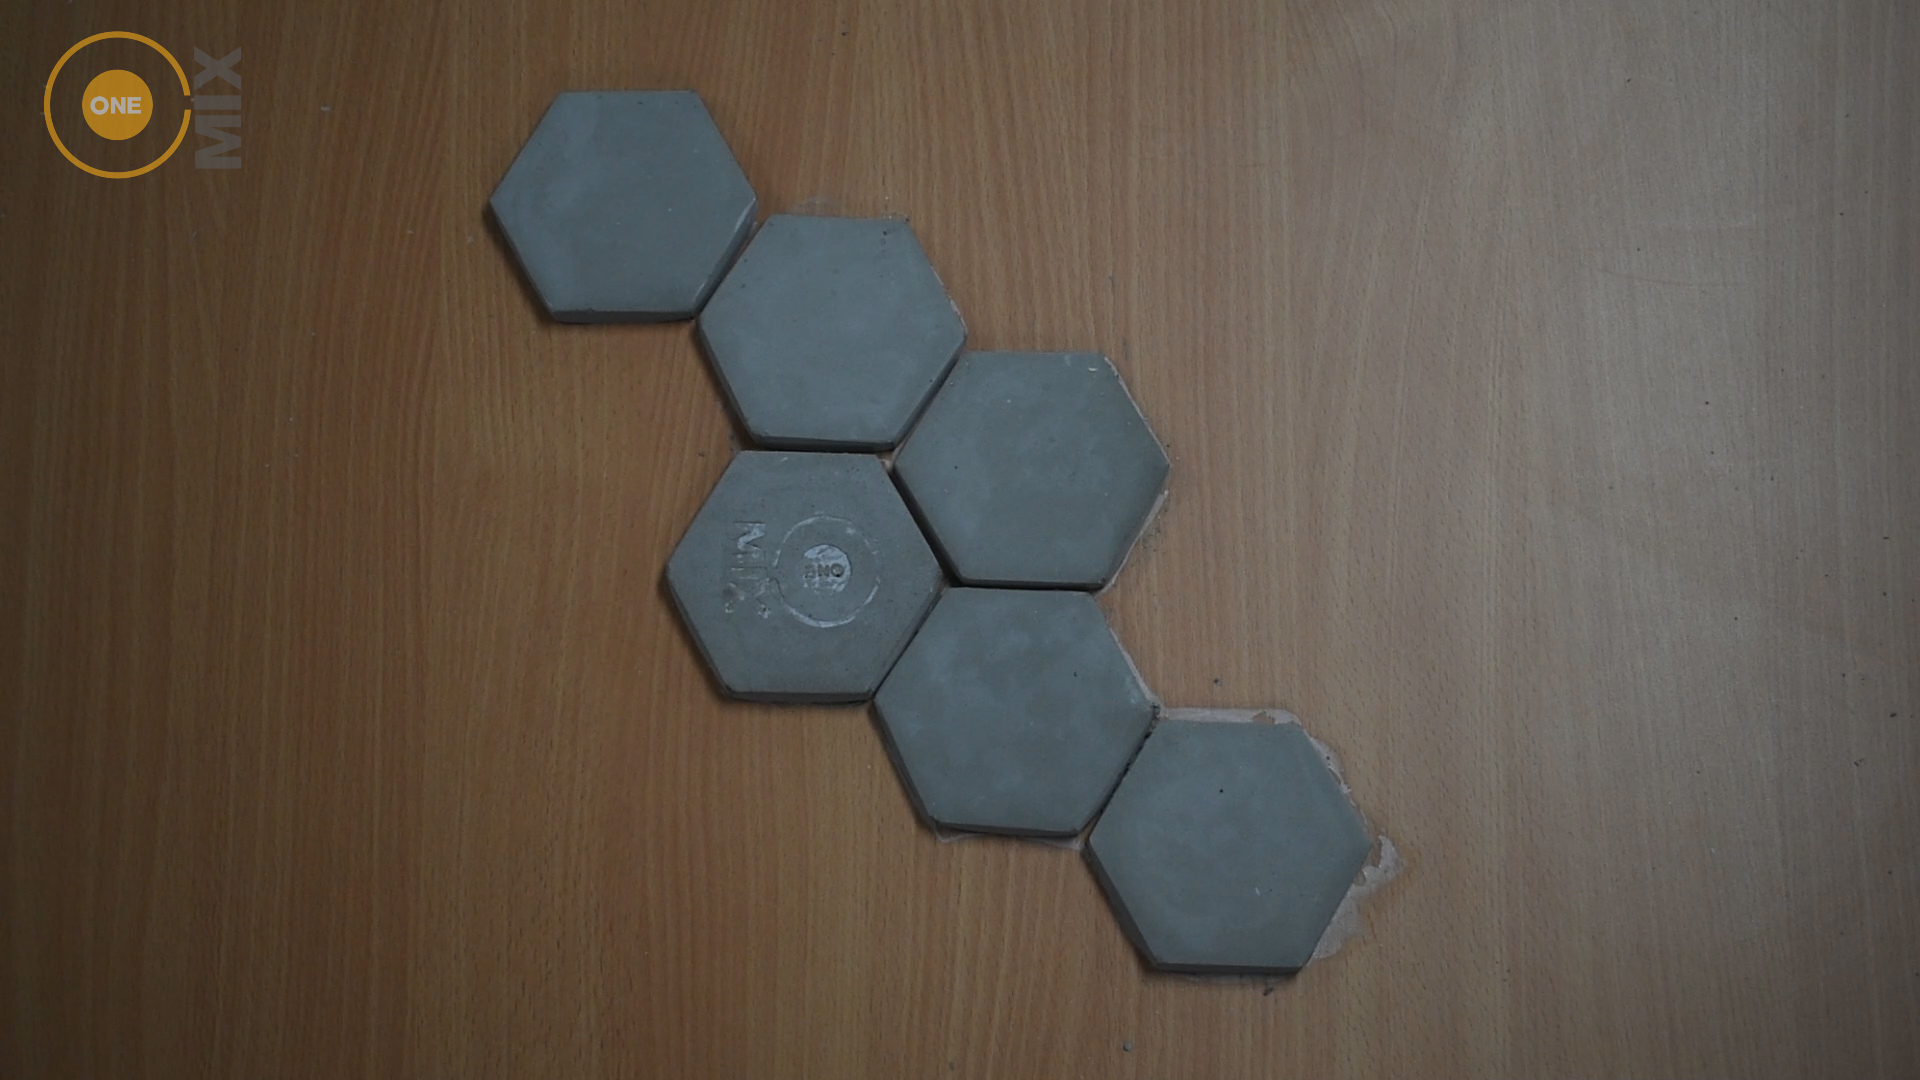
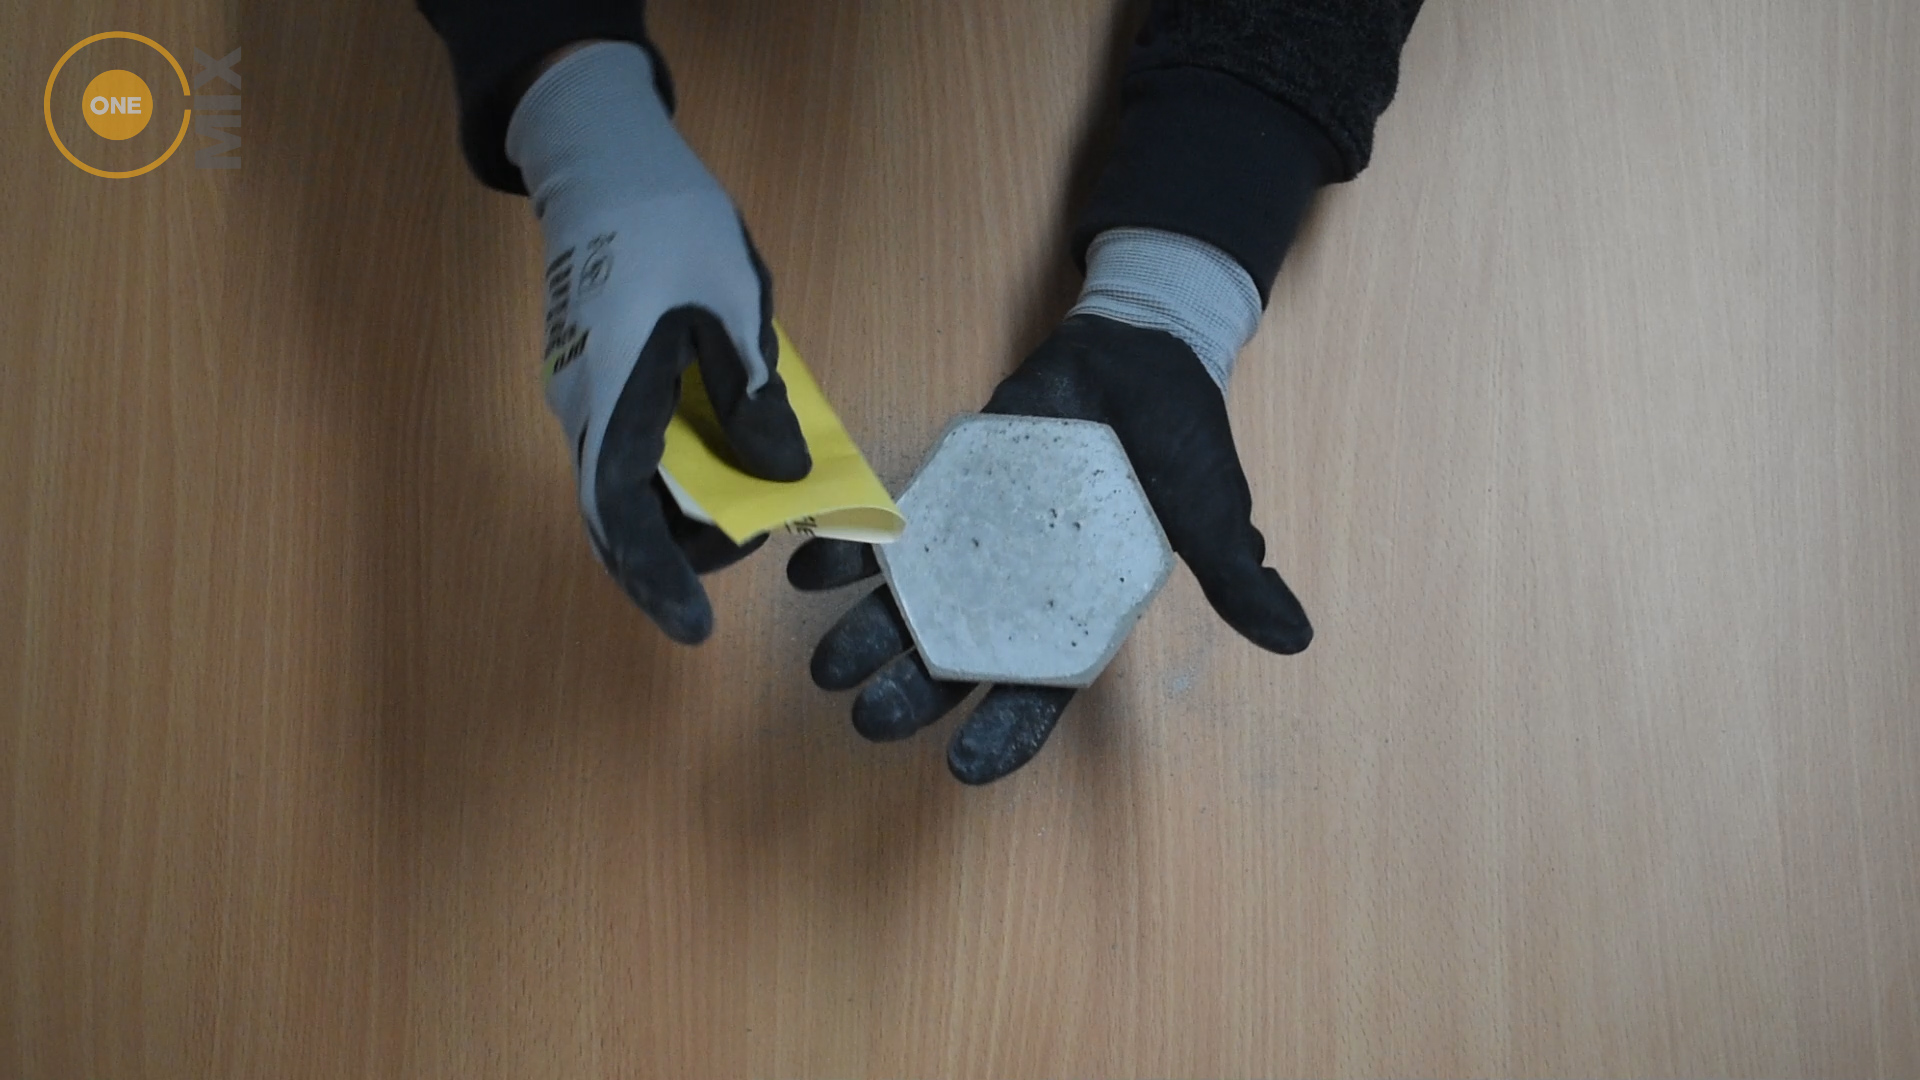
Step 5: Sand it down
Once cured, put on your gloves and dusk mask and get out your fine sandpaper. Give the base and edges a light sand to remove any sharpness or bleed water build up. Wipe away any excess dust.
Optional step: Decorate
If you want to decorate the coaster, now is the time! Get creative with your paint and paint brush and see what you can come up with. Show us what you’ve got!
Make sure you let this completely dry before you move onto step 6.
Step 6: Seal it up
With your gloves and mask back on, in an open space outside, give the coaster a good spray all over with the sealer. We sealed ours twice as per the bottles instructions just to make sure they were definitely sealed and waterproof.
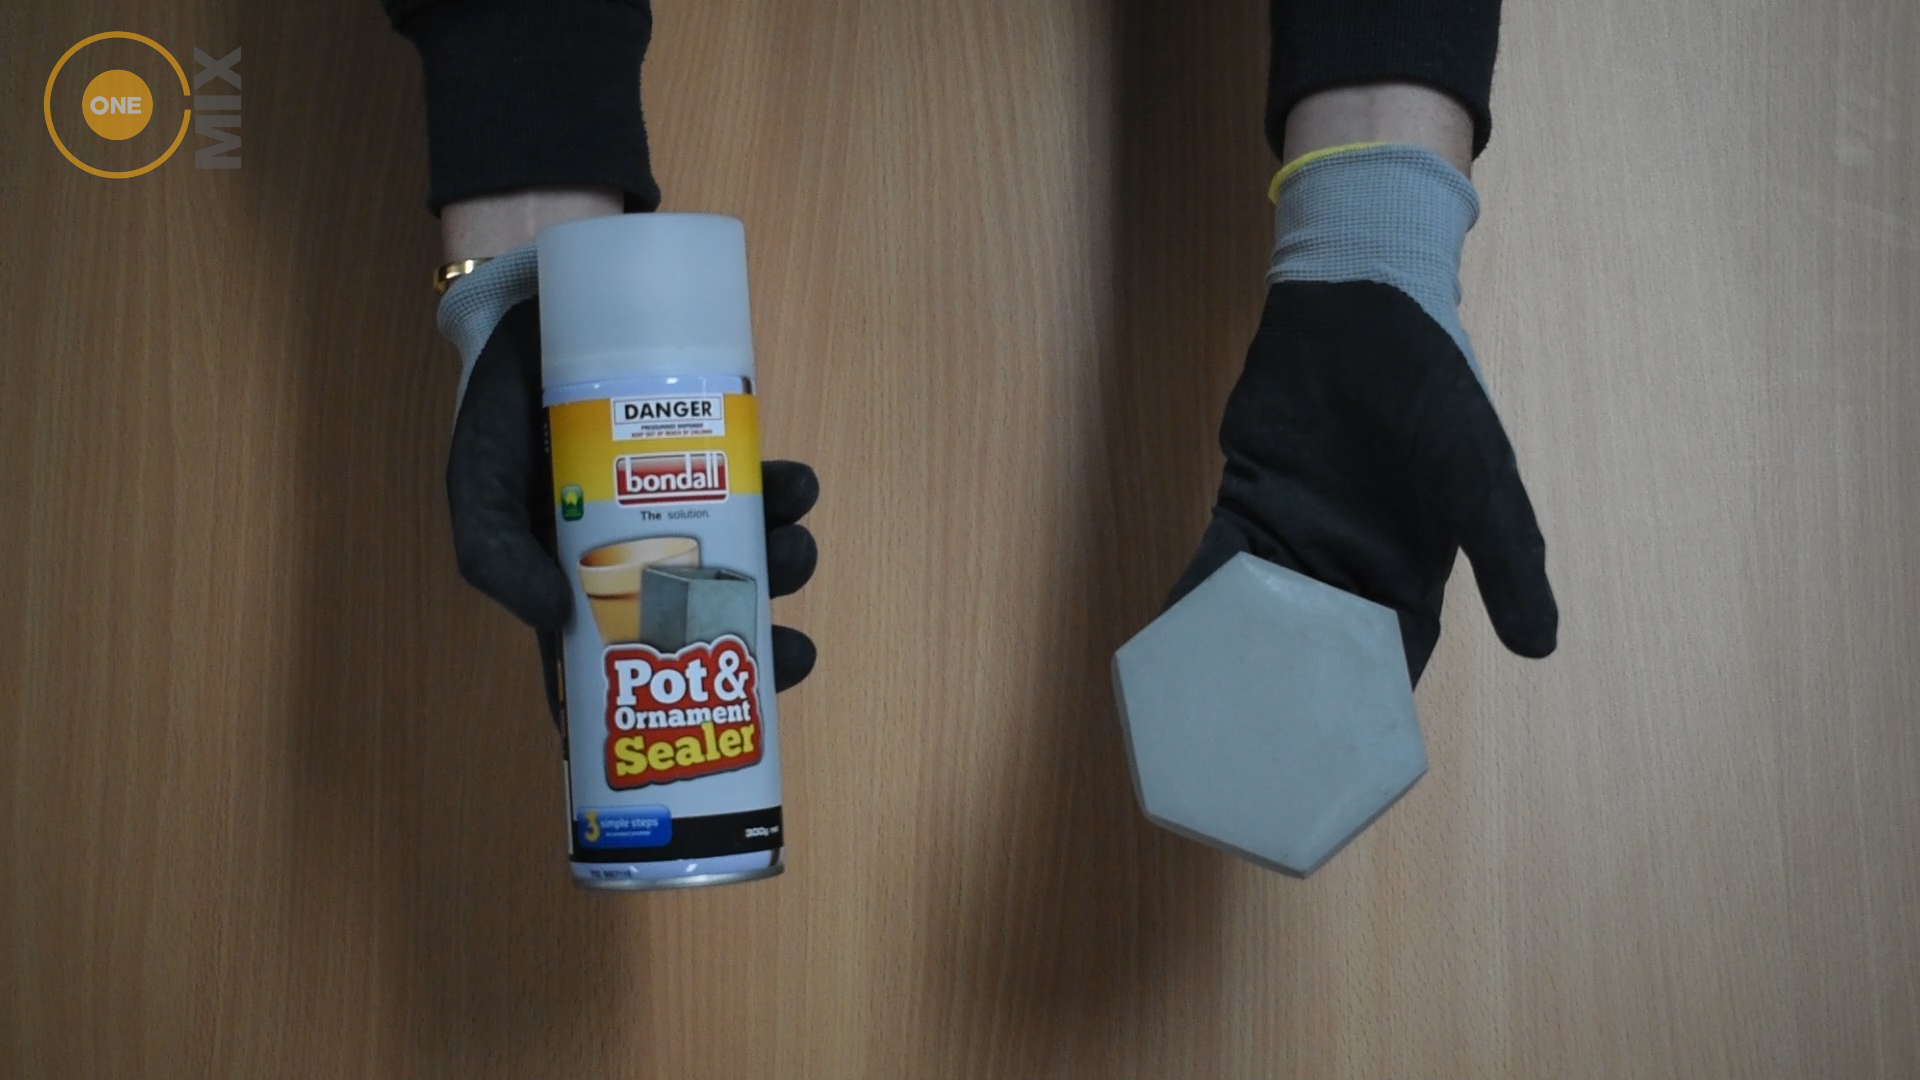
Leave until completely dry.
Step 7: Add the feet
This step is completely optional, however, given that concrete can be abrasive we’d recommend adding the felt pads to reduce the likelihood of scratching whatever surface the coasters are on.
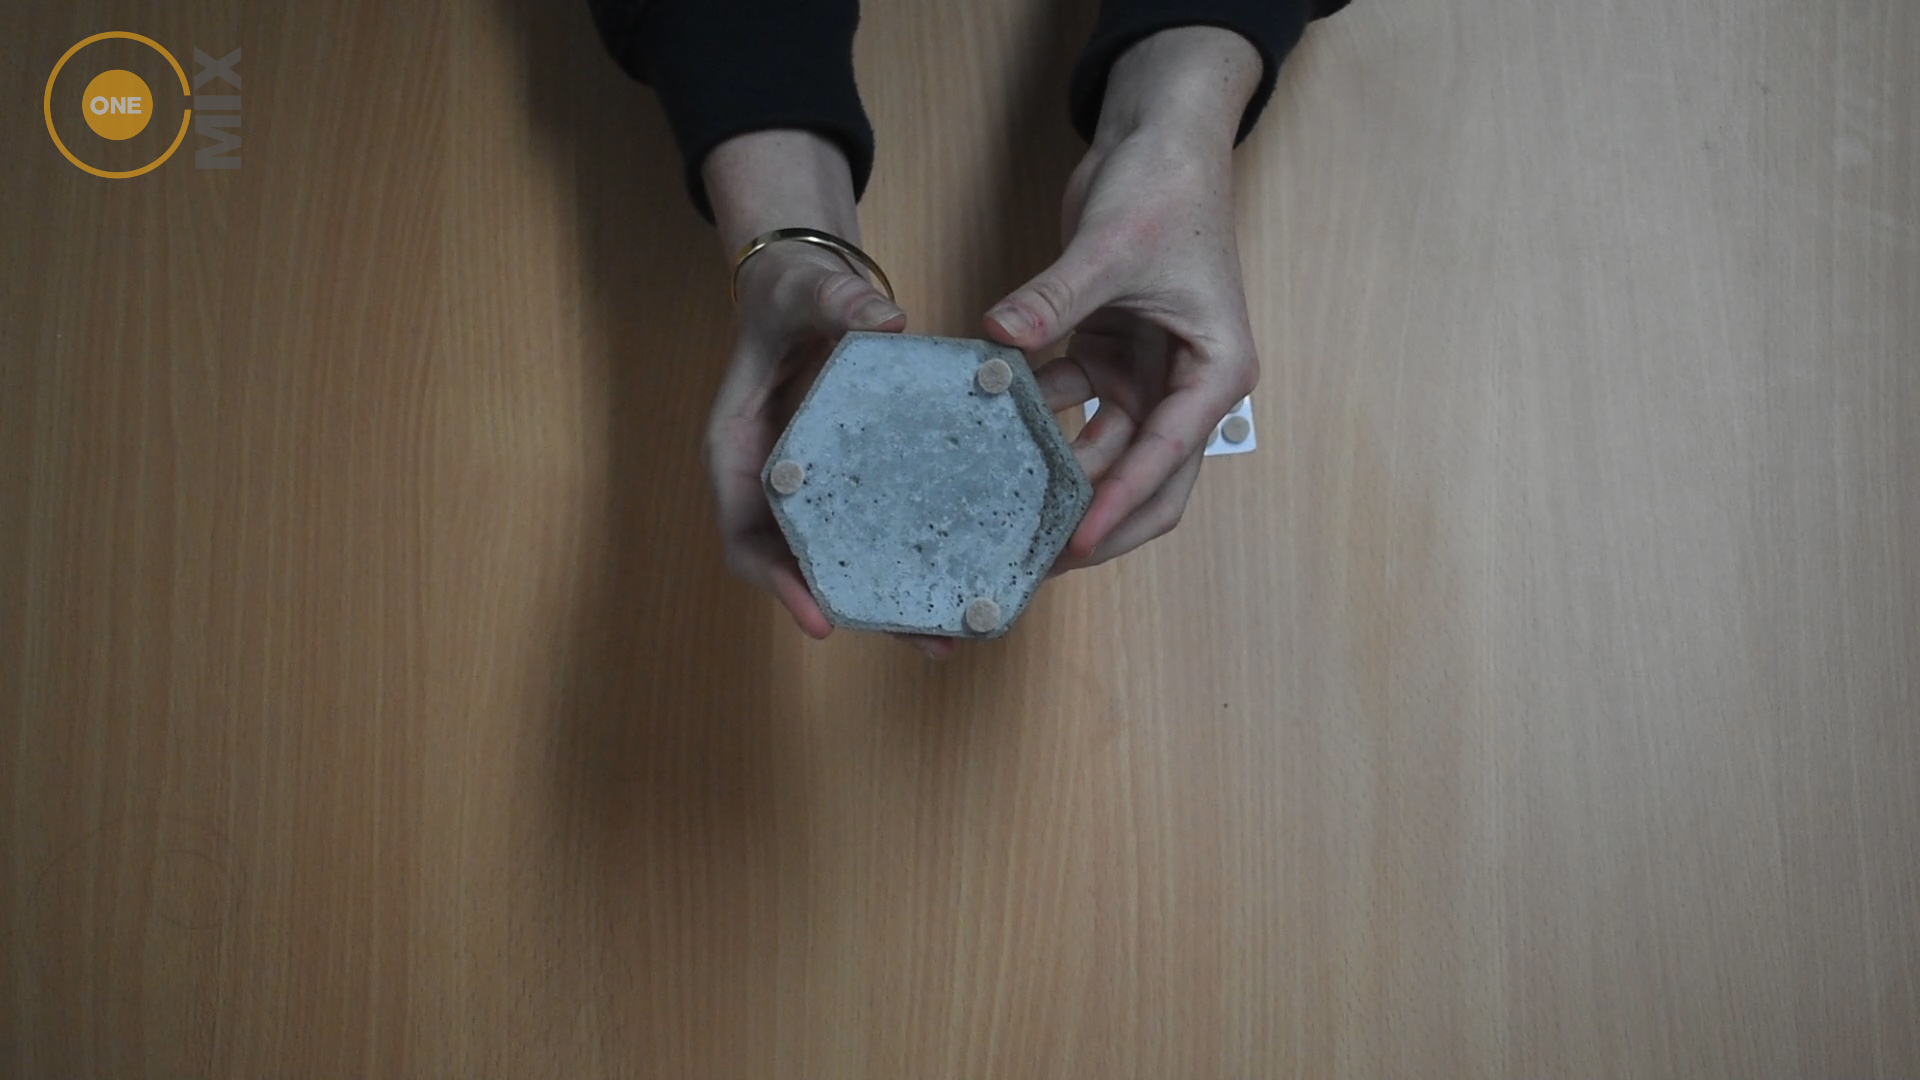
We used 3 pads per coaster, one on every second corner to keep it even. Just peel off, stick on and hold down to make sure they’re completely stuck. Feel free to use more if you’d like.
And there you have it! Easy to make Concrete Coasters that can add a little modern touch to your home. Why not try them out for yourselves or make them as a gift (FYI, perfect dad gift for Father’s Day! What dad wouldn’t love a handmade coaster?!). Enjoy!
Watch our video below to see it all in action.