 Have an old glass jar that you just don’t know what to do with? Why not breathe a little life into it and turn it into a Concrete Dipped Vase. All you need is a little bit of Mortar mix, so why not give it a go!
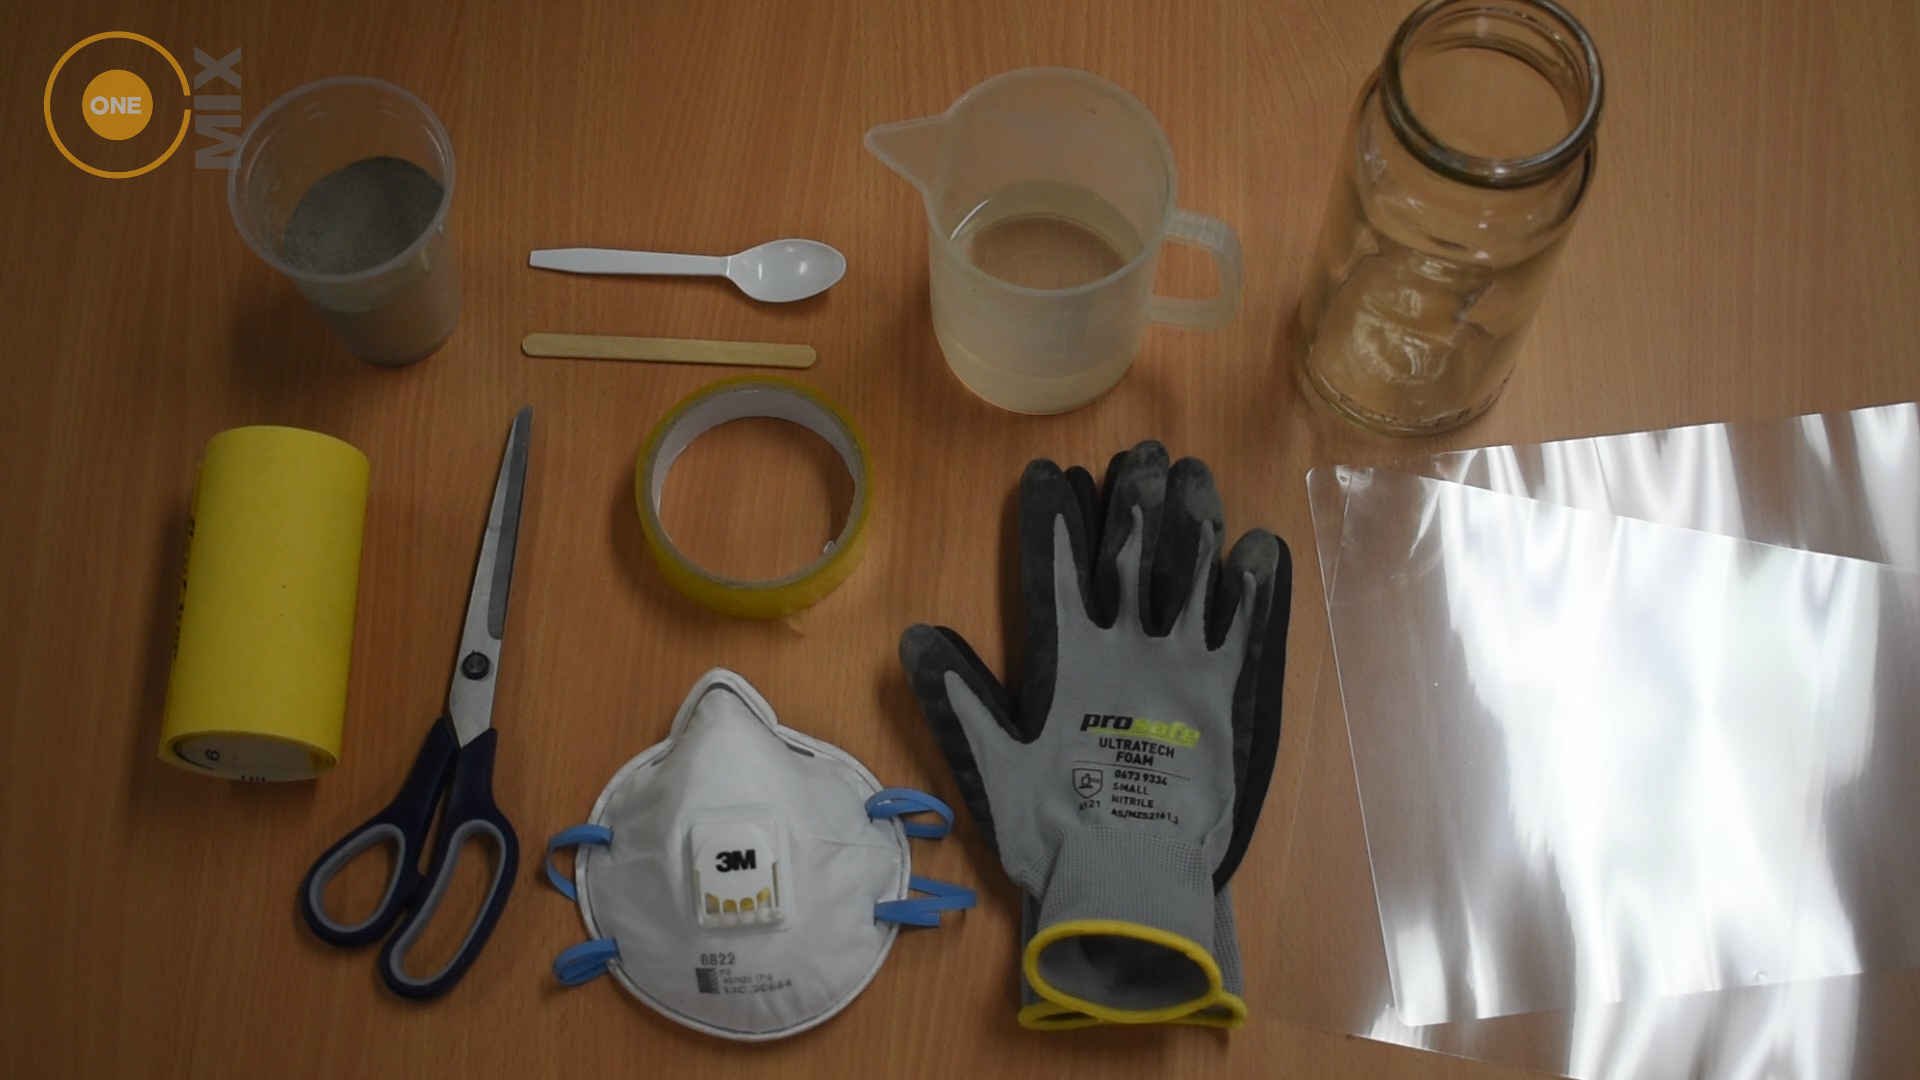
Things you’ll need:
- OneMix Mortar
- Glass Jar
- Water
- Mixing tool
- Mixing Vessel (we just used a cup)
- Spoon
- Thin plastic (cardboard can work, however it doesn’t give you as nice of a finish)
- Scissors
- Thick sticky Tape
- Fine sandpaper
- Gloves
- Dust Mask
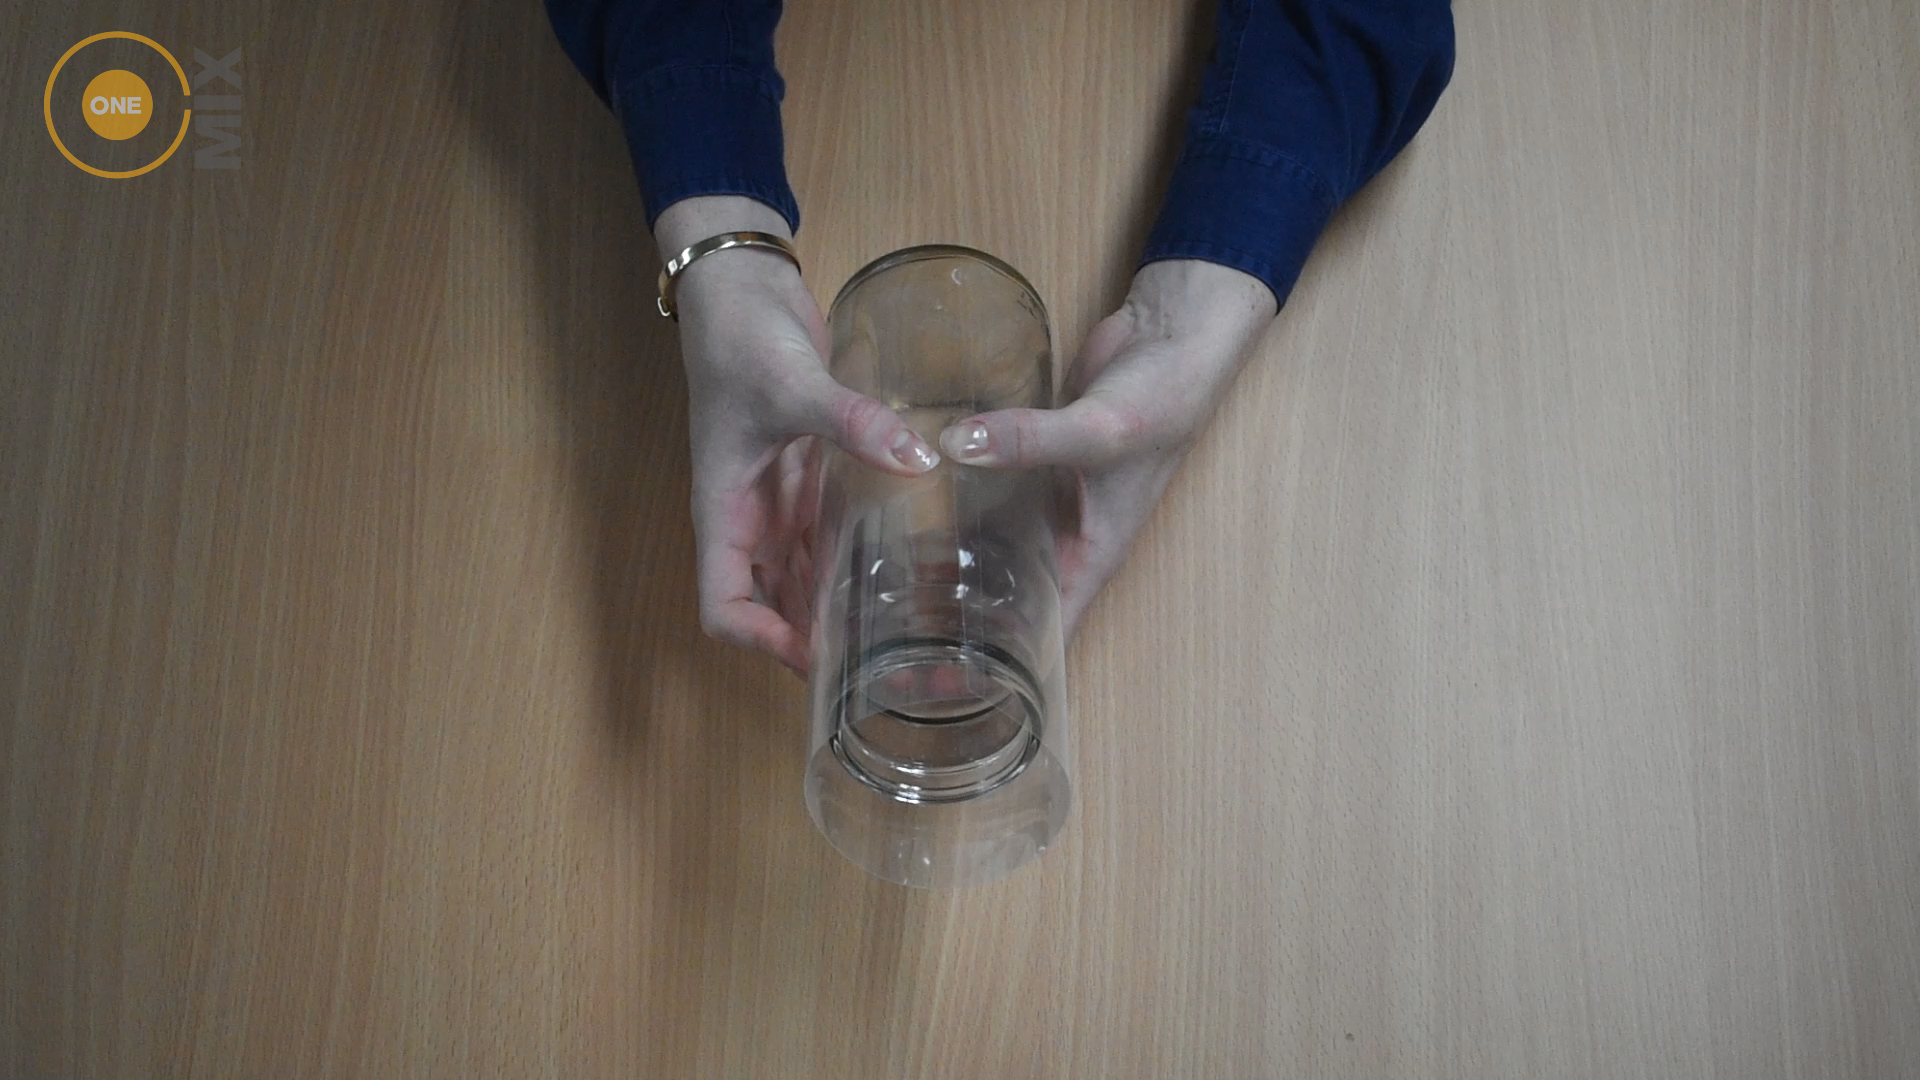
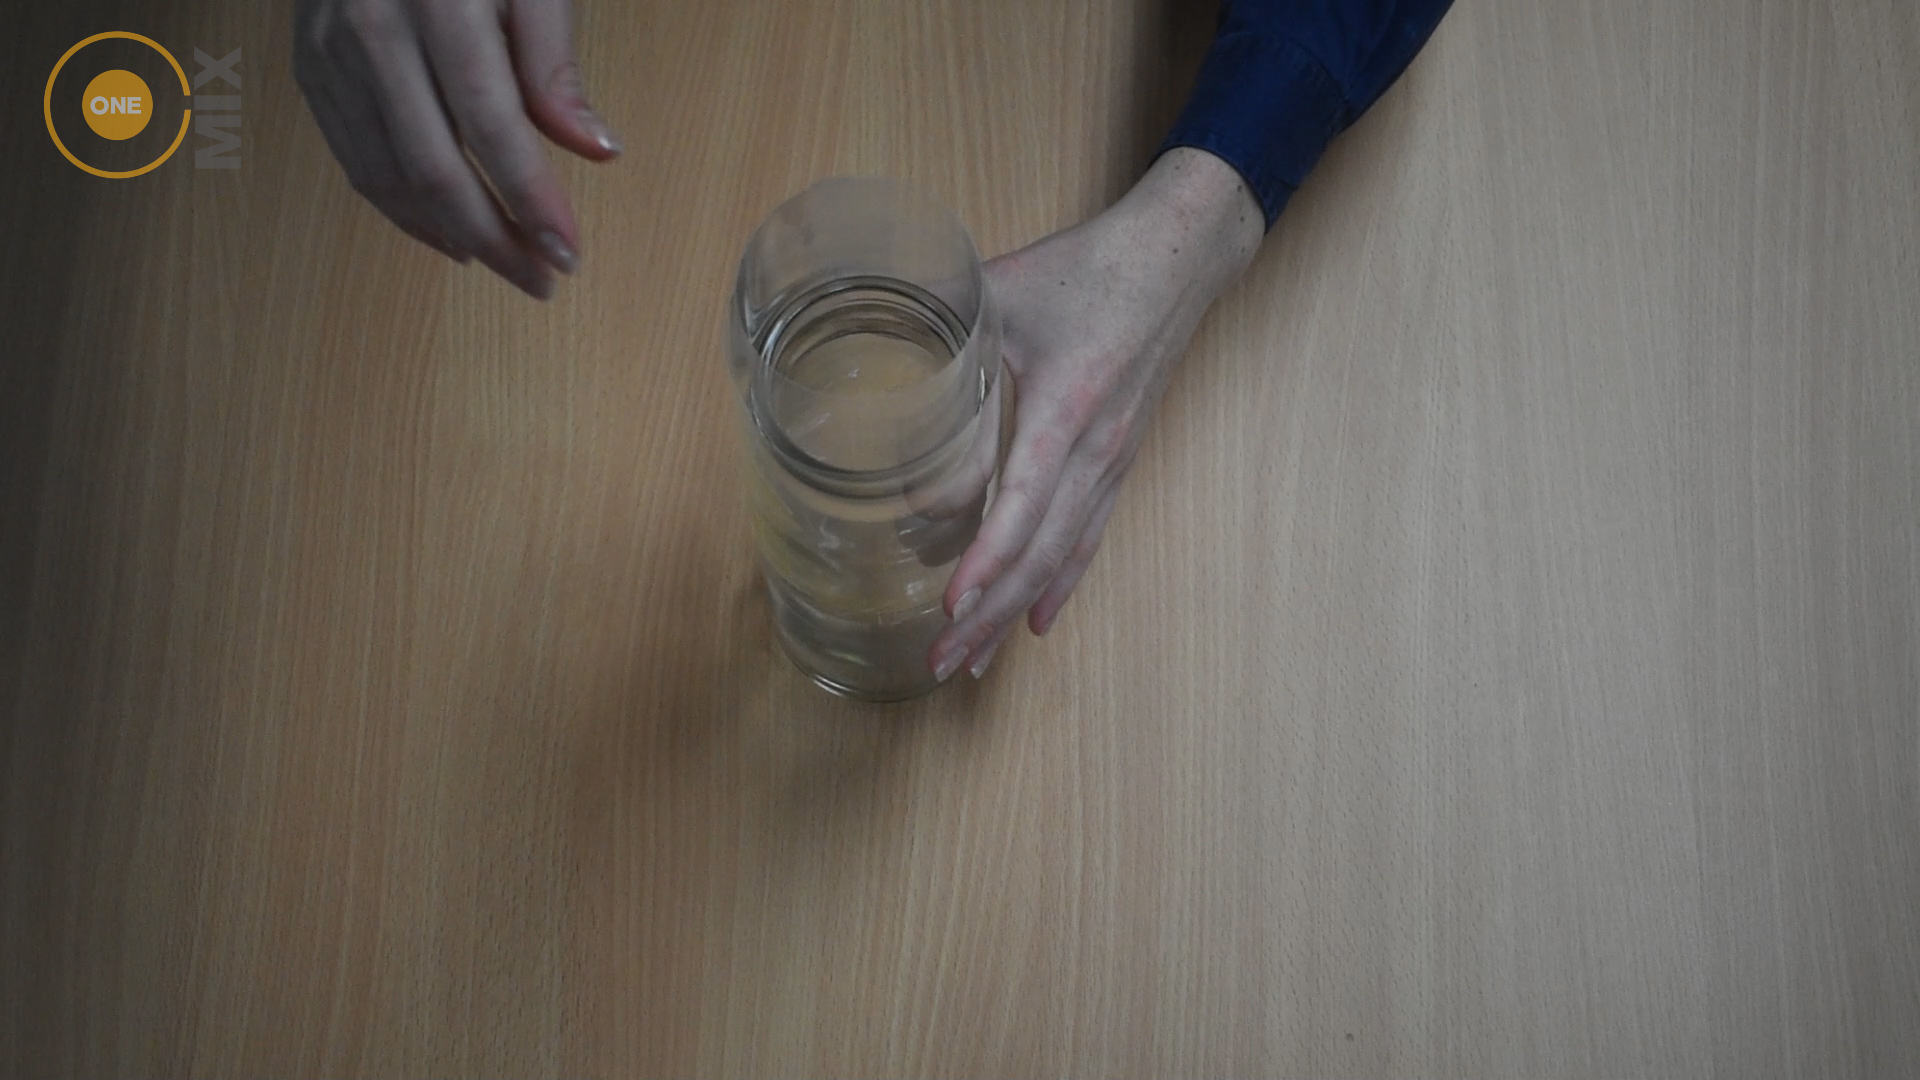
Starting Tip –
Make sure your jar is clean and dry before you start!
Step 1: Tape up your jar
You can make the section of concrete as big or small as you like, it all depends on where you place your plastic. Because of the shape of our jar, we choose to just concrete approximately the top quarter.
Cut the plastic to your desired height. Wrap the plastic around the outside of the jar and tape together as tightly as possible. Using the tape, secure the plastic to the jar around the bottom and up the seam to ensure there’s no gaps.

Roll up another bit of plastic and push down the centre of the jar and secure with tape.
Top tip –
We cut our plastic so that it just fit around the jar with minimal overlap. This way you can tape the plastic together, rather than taping it to the jar, this will make for a cleaner finish.
Step 2: Prepare
Time to lay out your newspaper! After mixing it’ll get messy. So make sure you also have everything handy and ready to use, as it’s hard to stop once you’ve started.
Step 3: Mix up your Mortar
Time to put on your dust mask and gloves!
The amount of Mortar and water you need depends on how big of a jar you have so use your best judgement at this point.
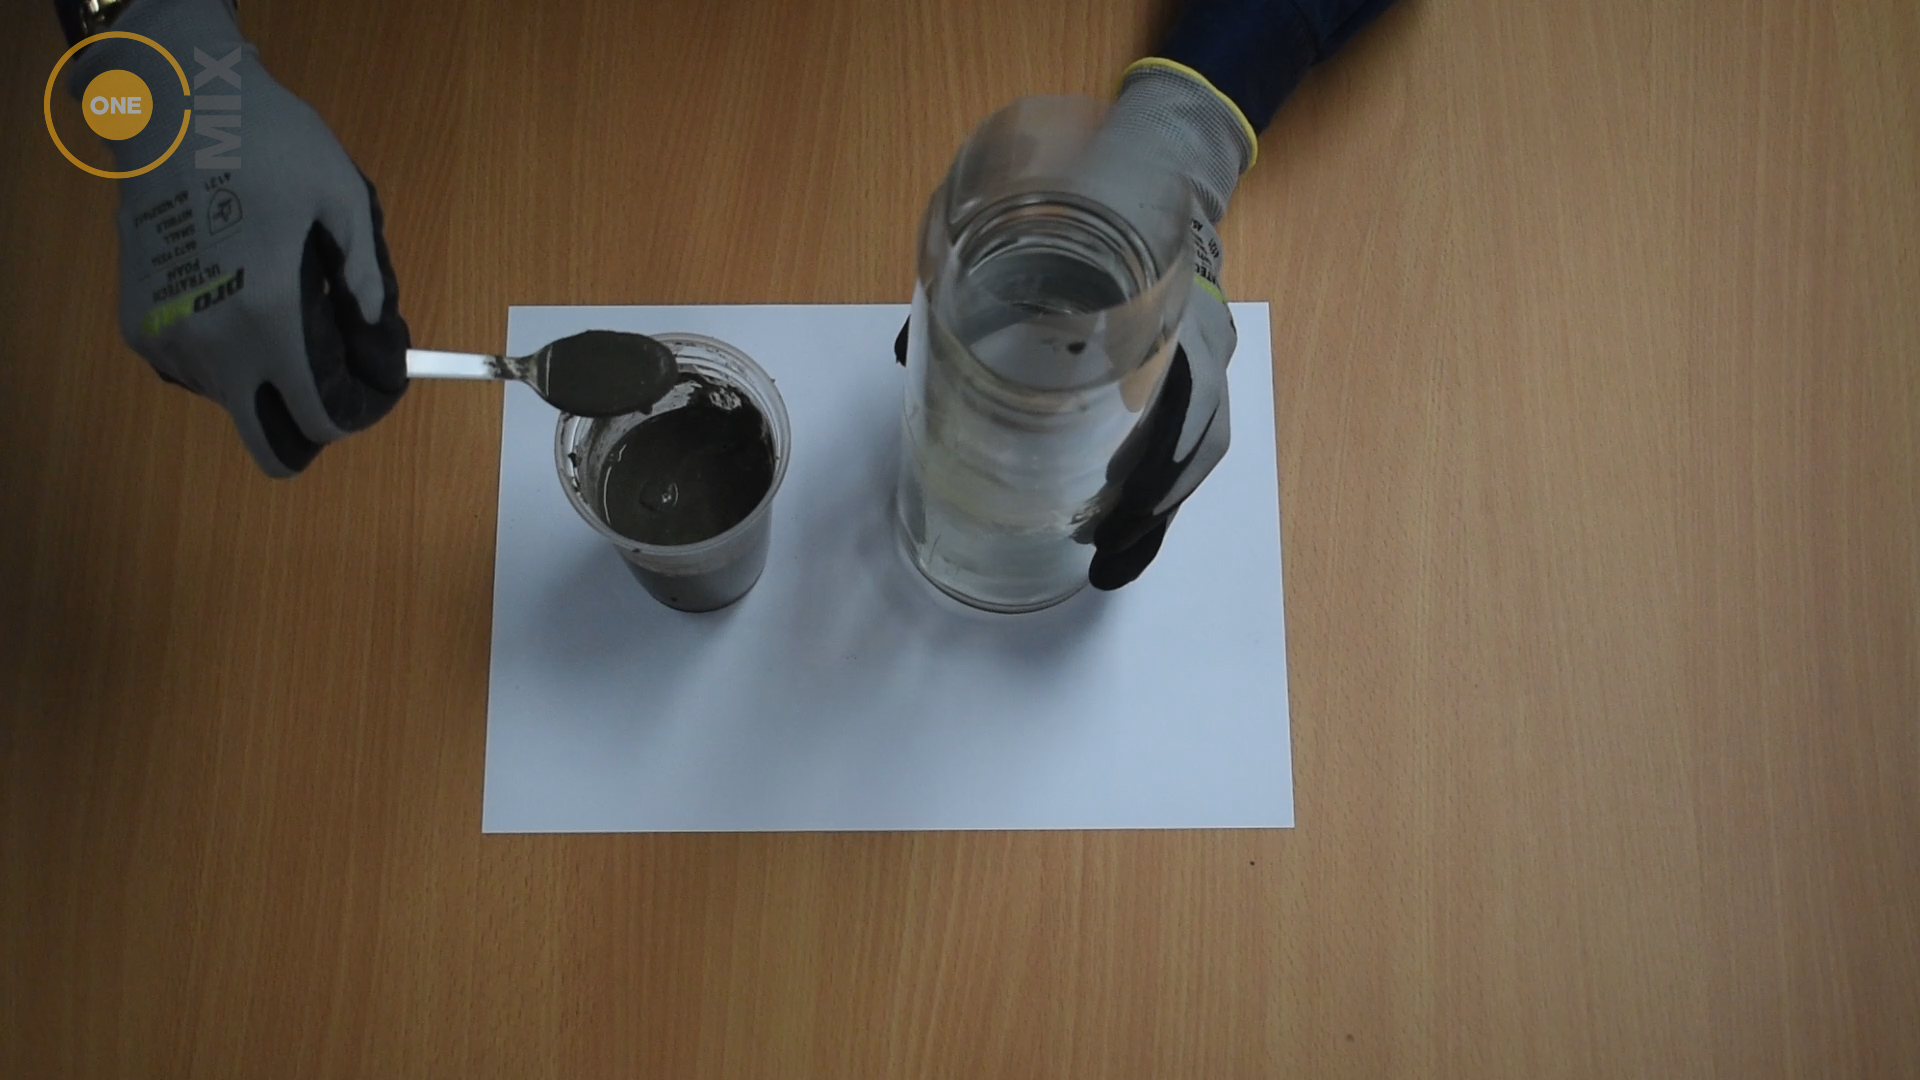 With your dry Mortar in the cup, pour in some water and start mixing until completely combined. Add in more water if needed. We’re aiming for a runny cake batter consistency to reduce the likelihood of air bubbles.
Step 4: Get messy
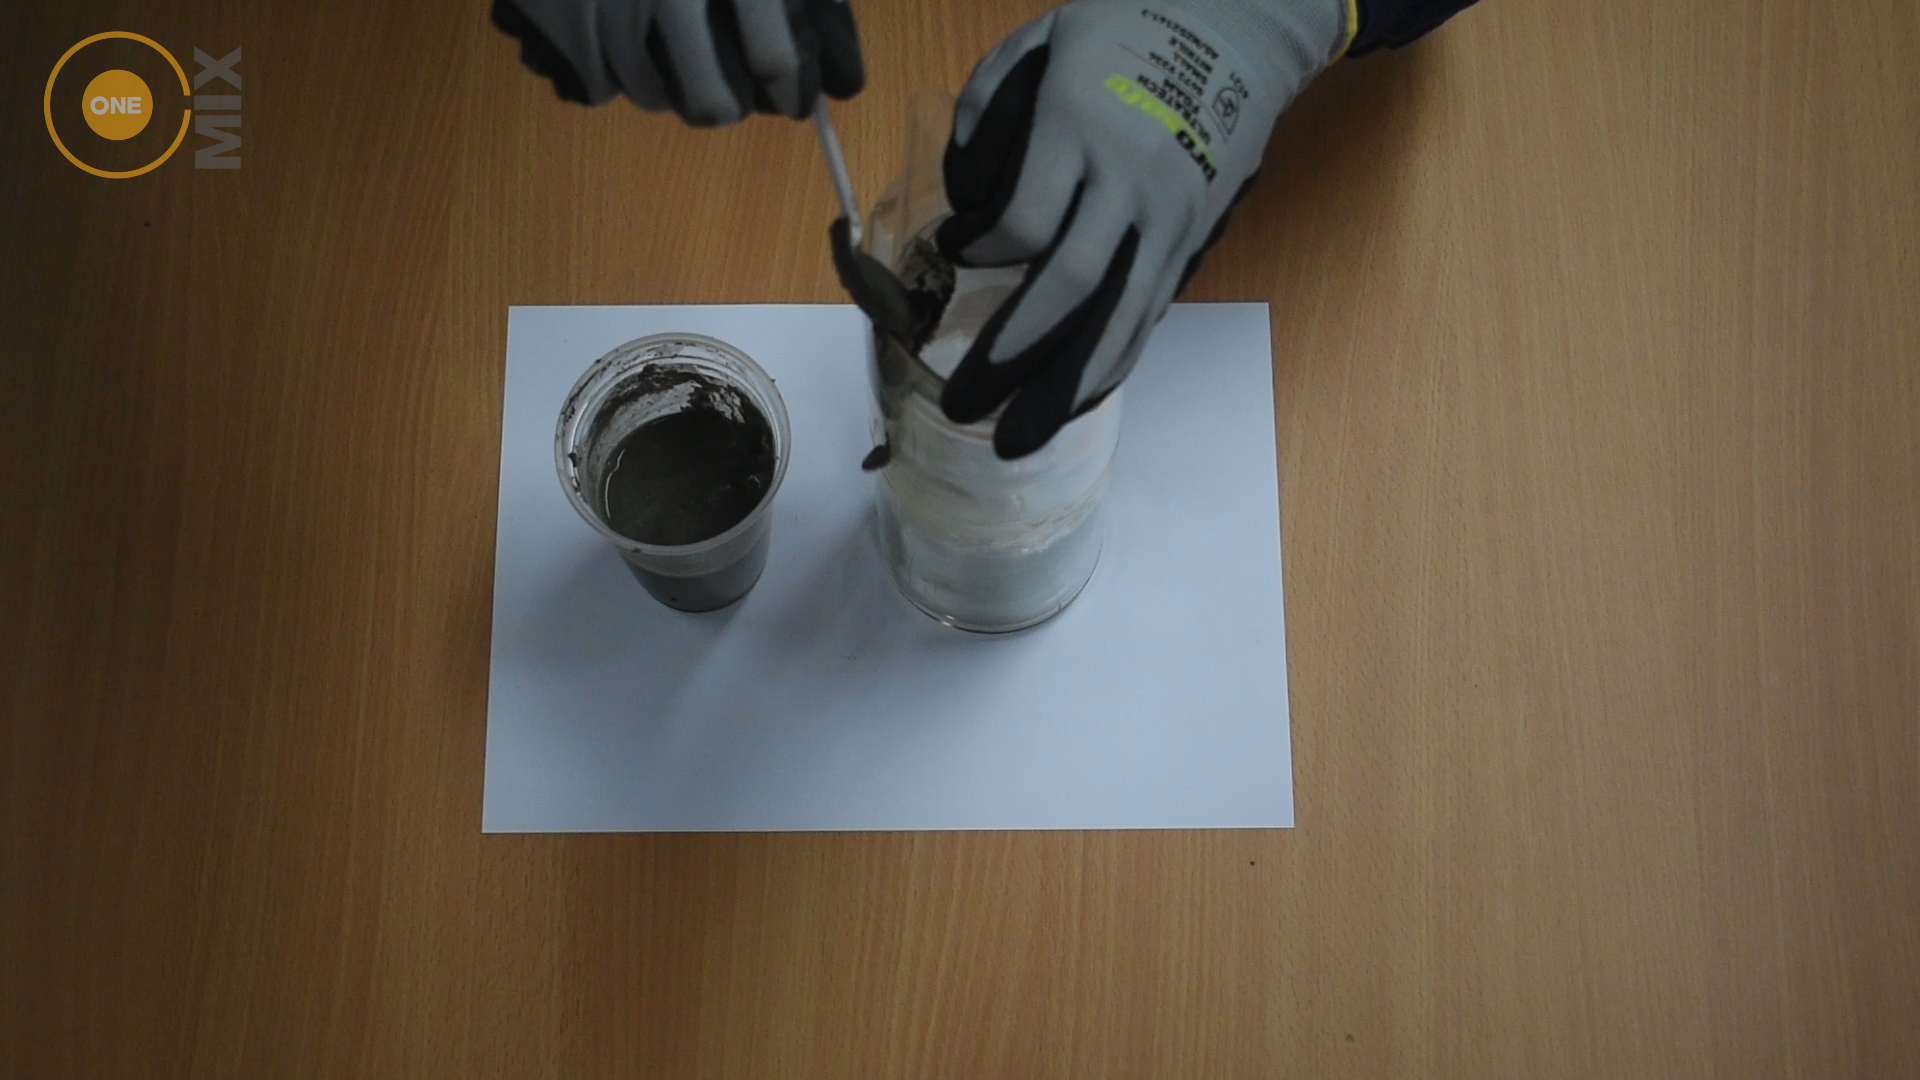
Using your spoon, carefully start putting you Mortar mix between the two sheets of plastic, being careful not to pour any into the actual jar. Tap the jar as you go to fill in the edges. Keep going until you’re satisfied with the height of your concrete.
Step 5: Let it set!
Let the vase set for a minimum of 24 hrs. The longer it’s left to cure, the stronger they will be.
Step 6: Remove the mold
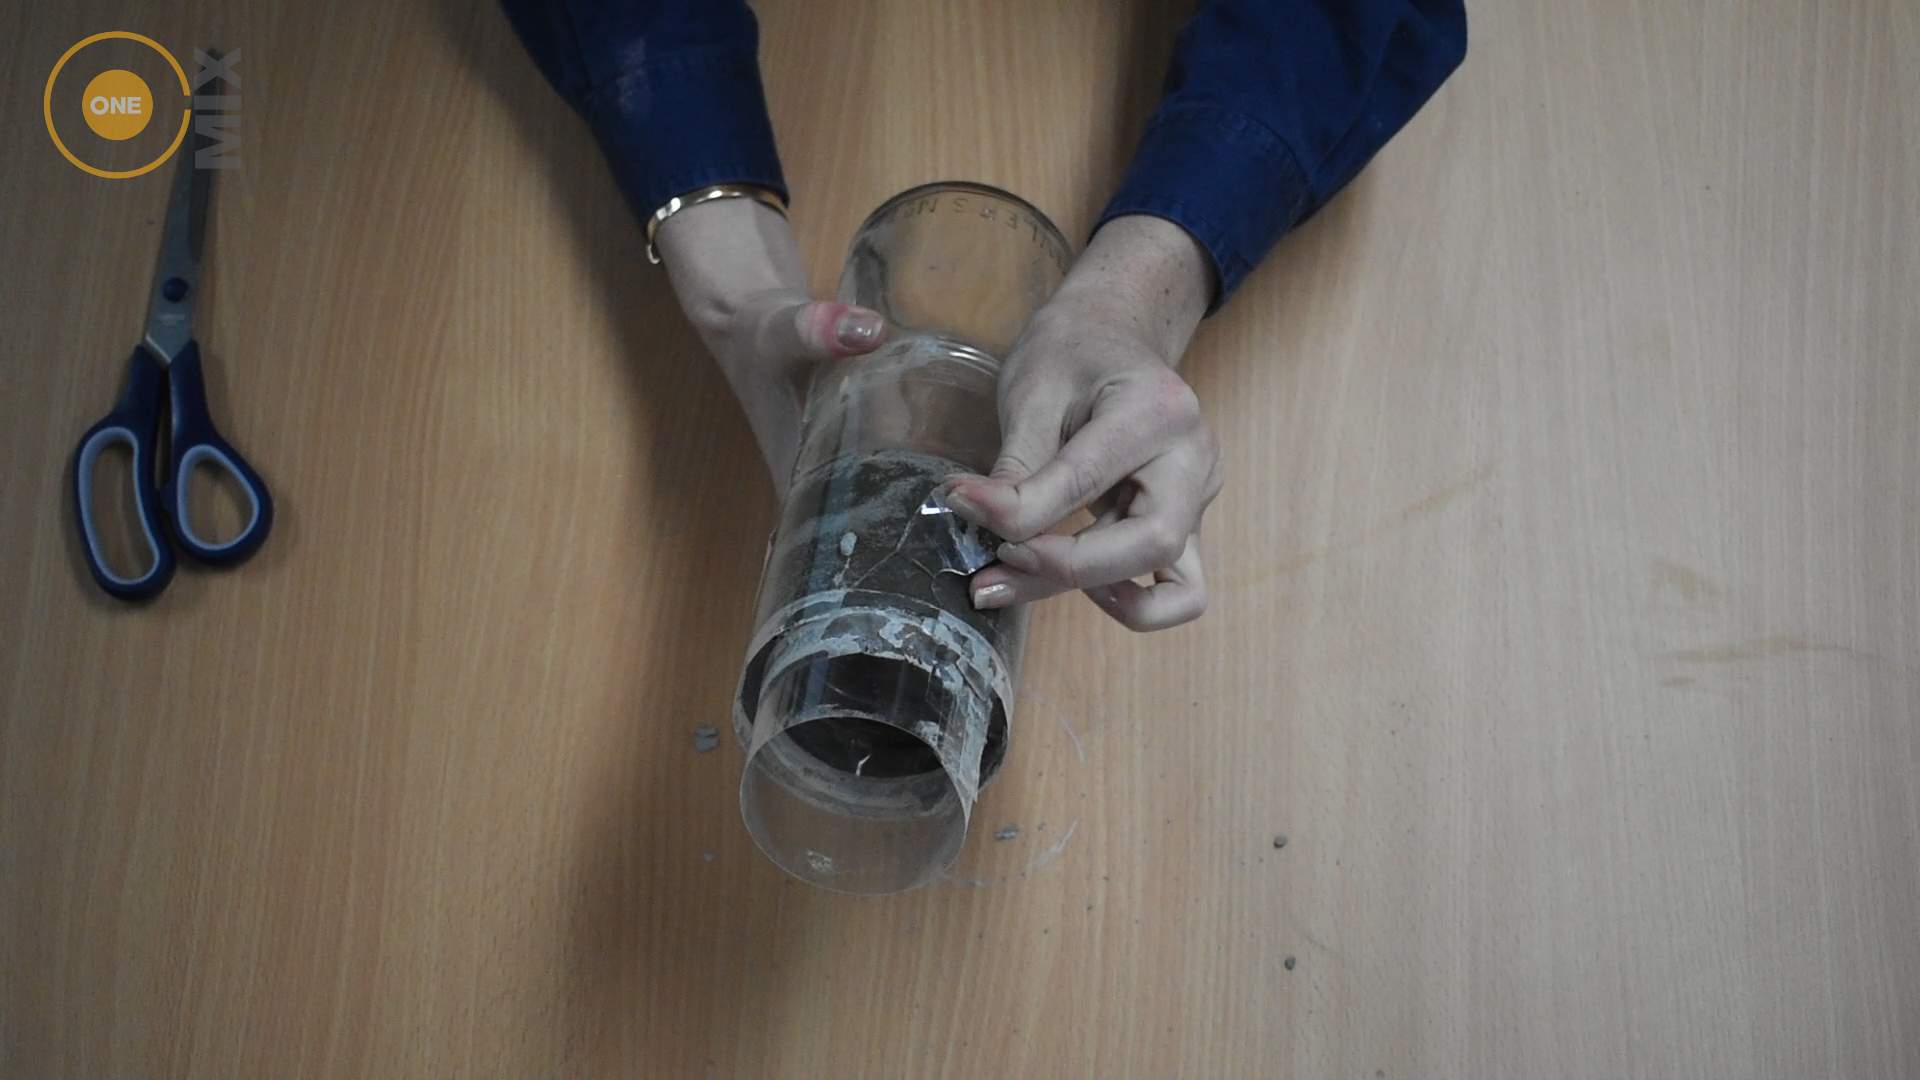
Once dry, use your scissors to create slits on the outer wall and slowly peel this back to remove all of the plastic and tape. You should be able to simply pull out the middle section of plastic.
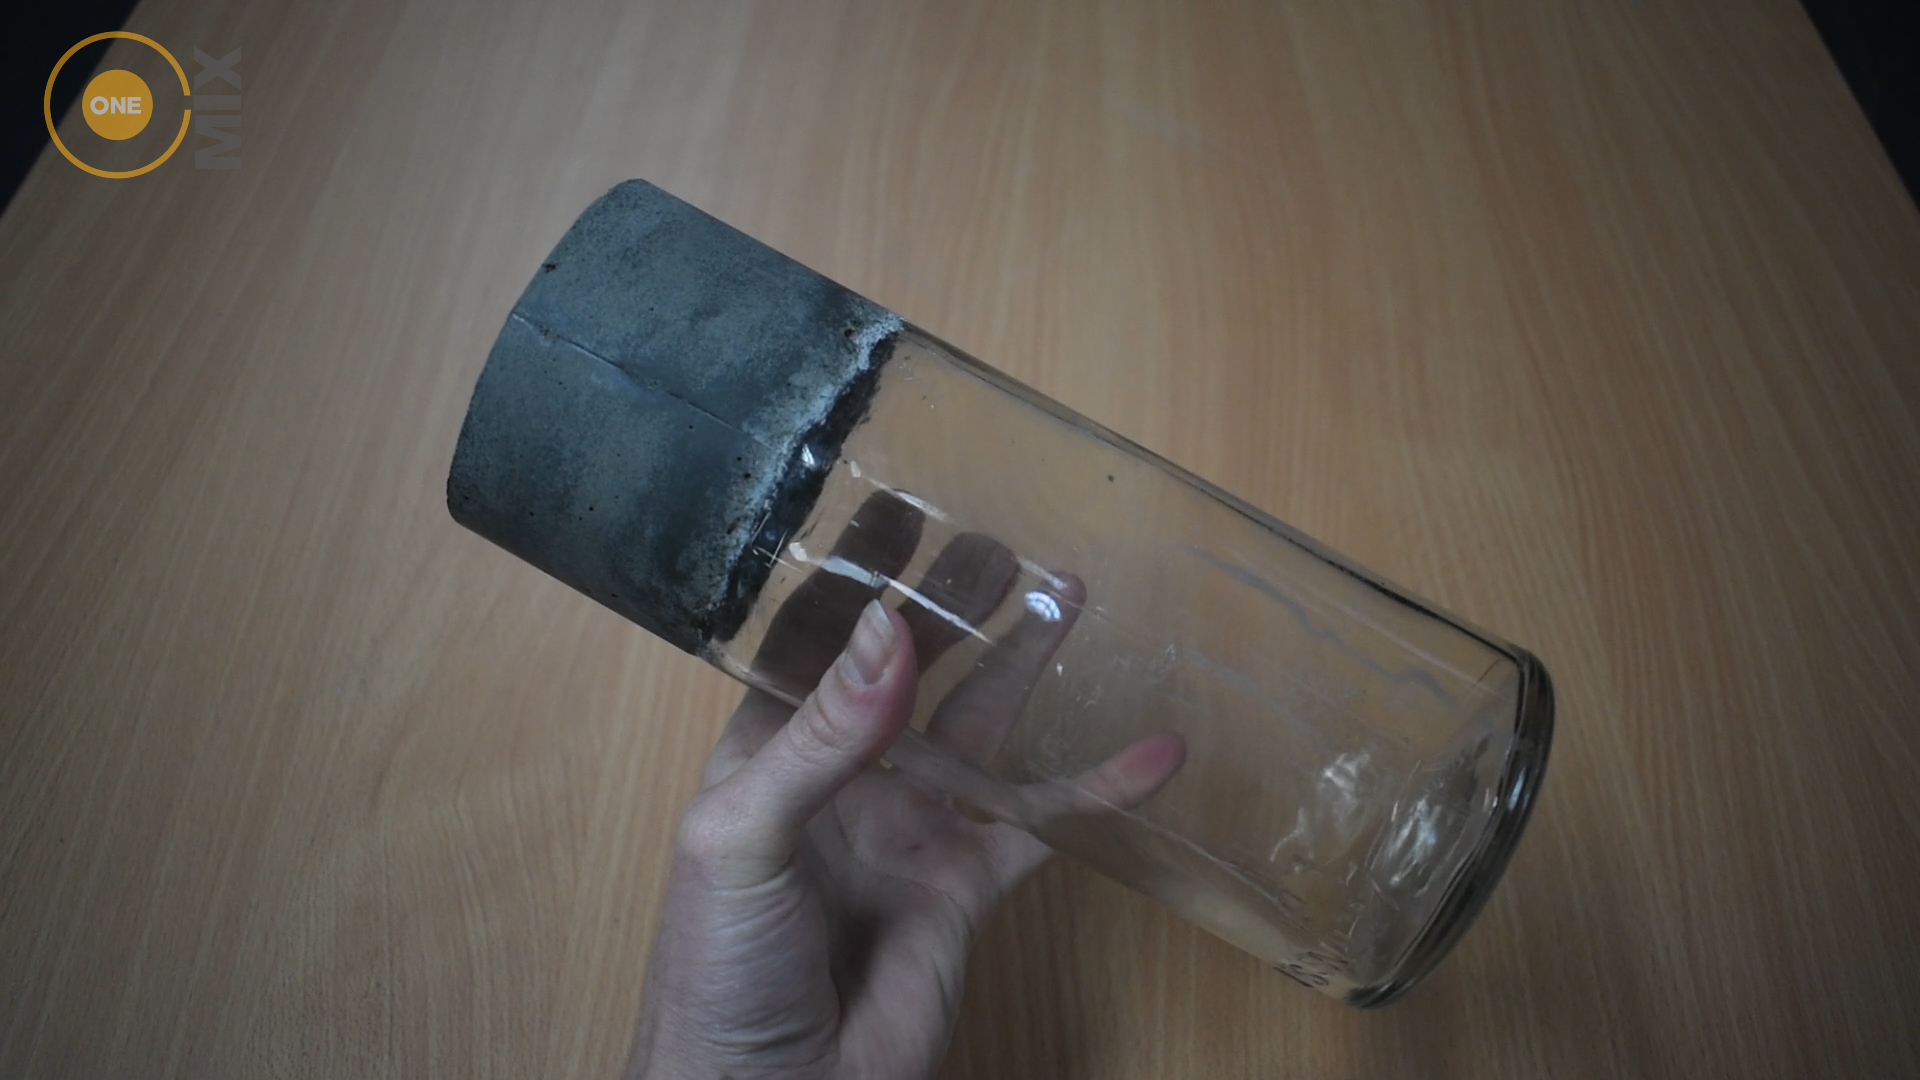
Step 7: Sand it down
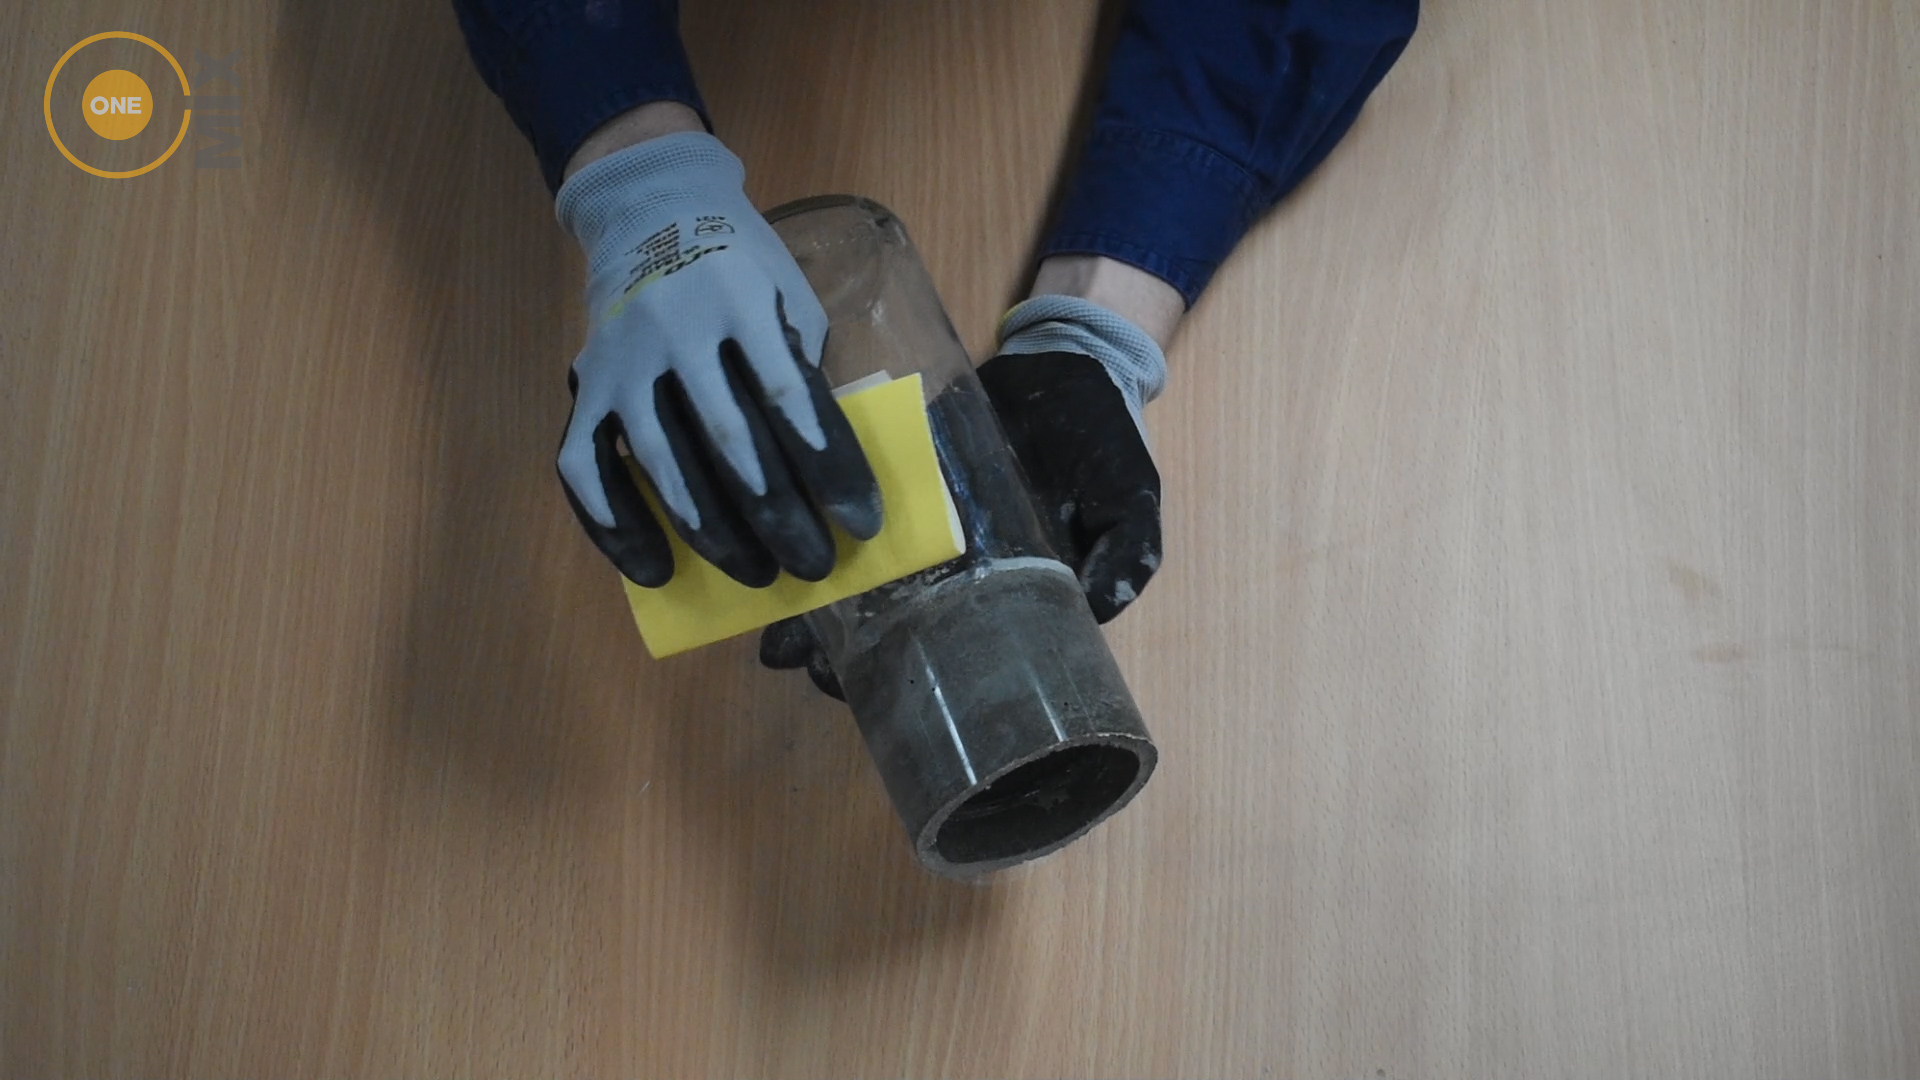
Using the sandpaper, clean up the bottom edges so that it’s flush with the glass and a straight edge all the way around. Give the top a quick sand as well to remove any bleed water and ensure that it’s level.
Step 8: Give it a clean
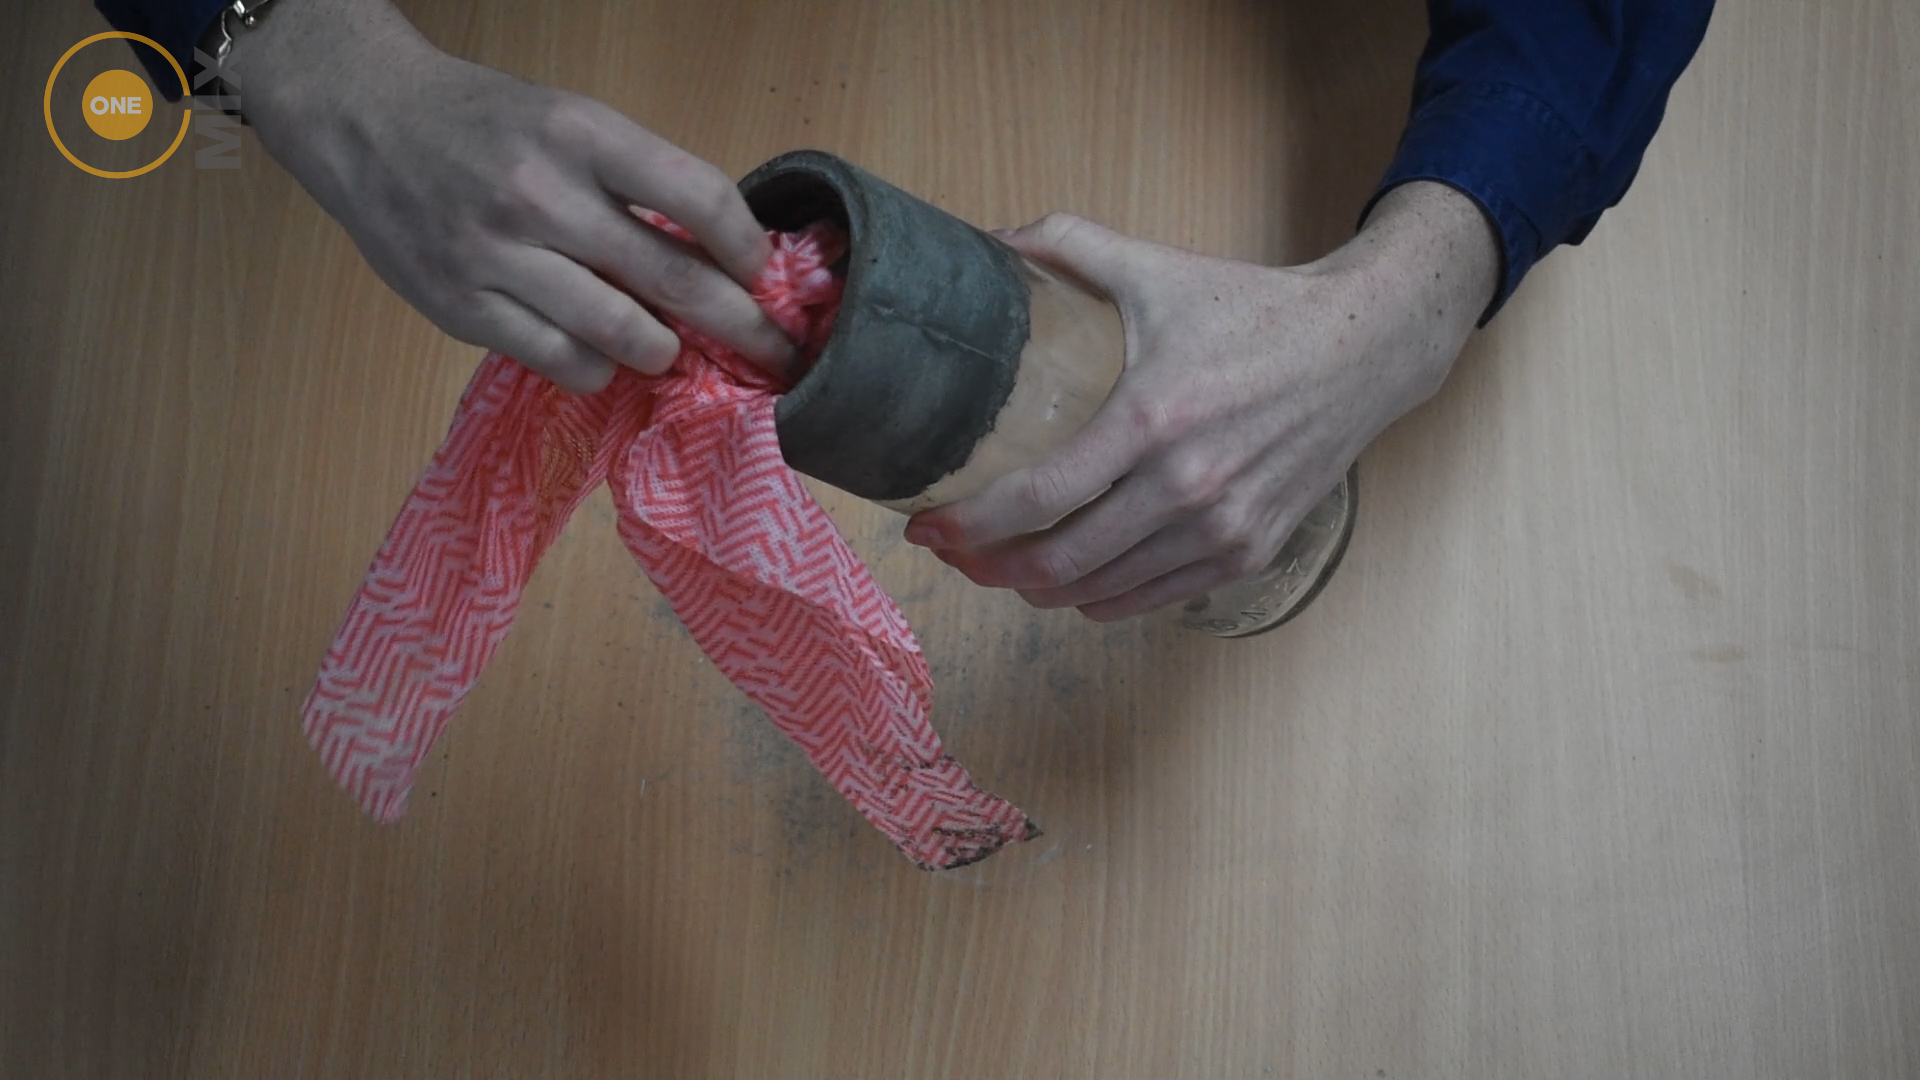
With a damp cloth, give the jar a wipe to remove any excess mortar that may have dripped down during the curing process.
Once you’re satisfied, pour in a bit of water and wash it out to remove any concrete that may have fallen inside. Let dry.
Step 9 (Optional): Get Creative
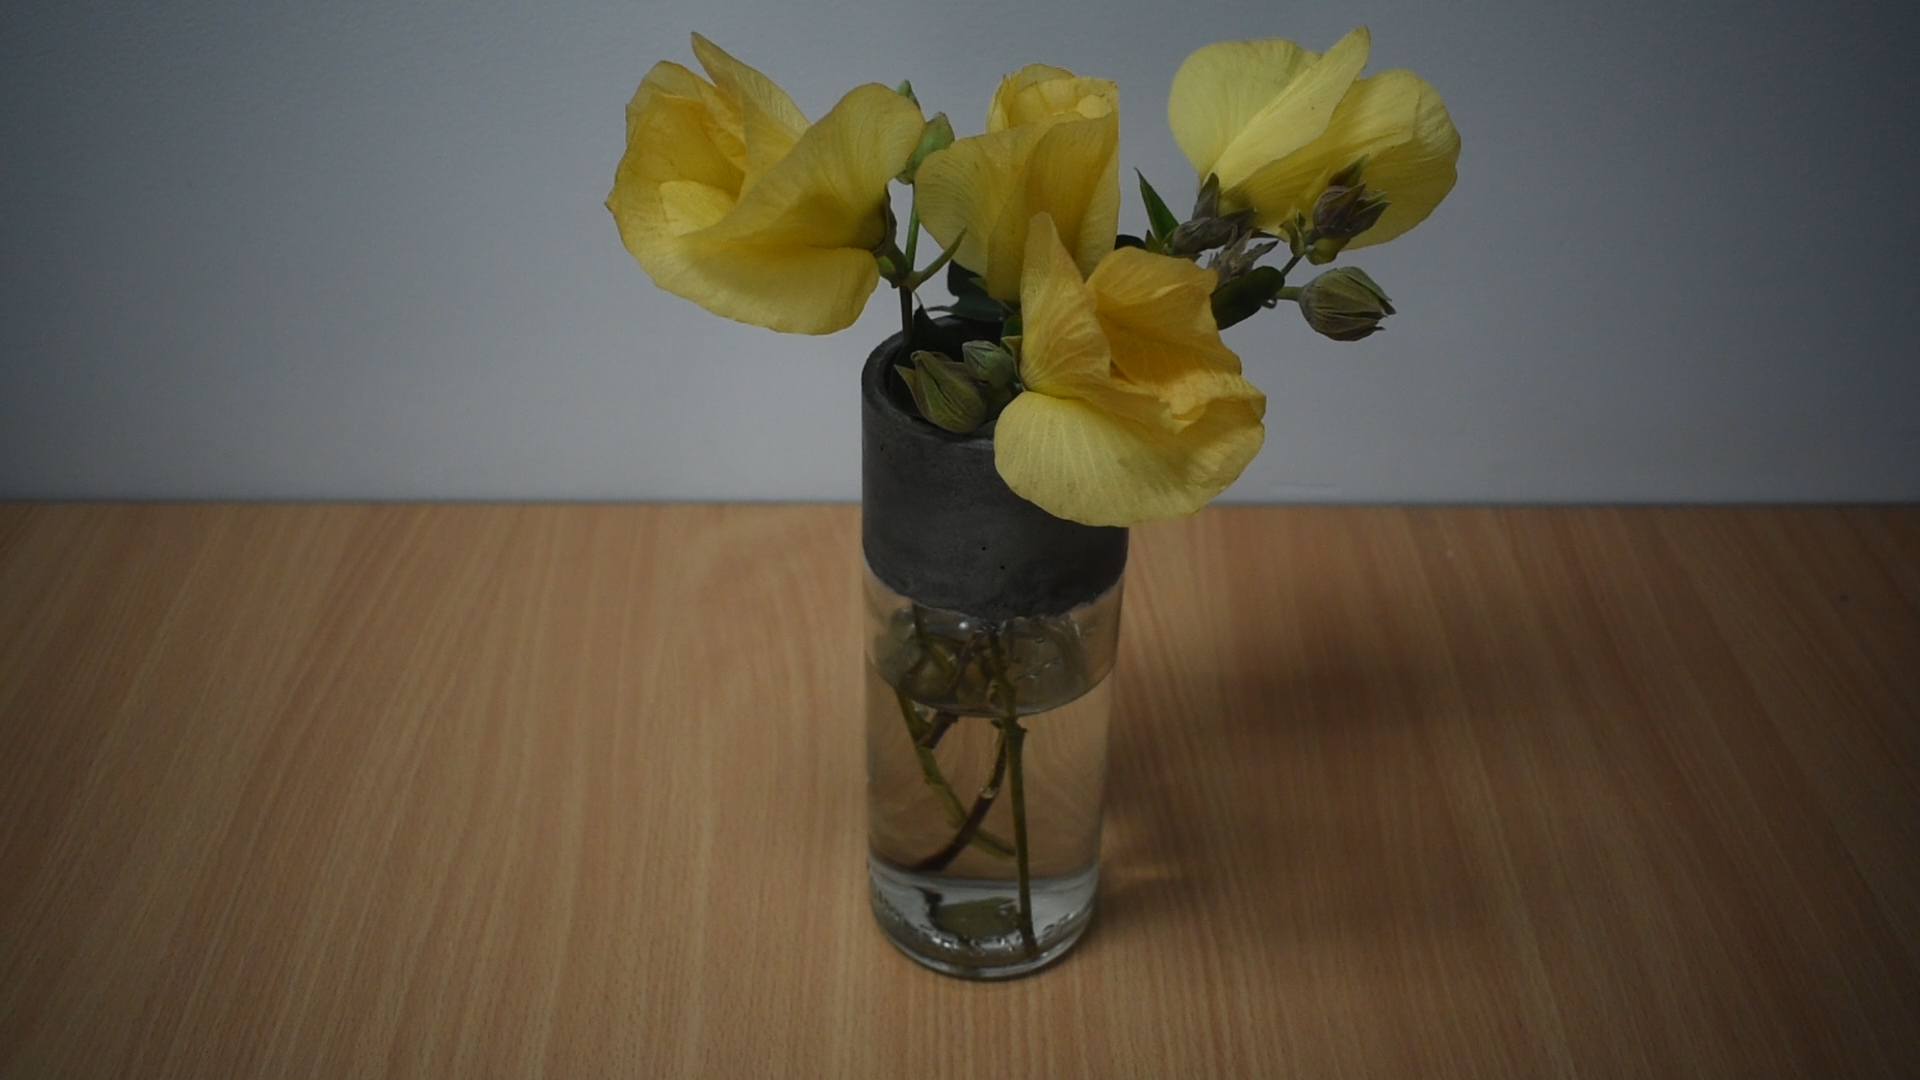
You may choose to get creative with your paintbrush to add your own personal style. We chose to leave it as it for a more modern industrial look.
Finishing touches are simply some water and a bunch of flowers. There you have it, an easy upgrade, from an old glass jar to a modern Concrete Dipped Vase. Why not try it out for yourself or make one as a gift. After all, Christmas is just around the corner.
Have you given it a try? Make sure to share your pictures with at https://www.facebook.com/OneMix.SC/ we’d love to have a look.